Home Hardware

DIY a Christmas Tree Box This Holiday with Home Hardware 

Dressing up the bottom of the Christmas tree is a tradition most families have at their home when decorating the family Christmas tree. Normally we have a fabric tree skirt that runs below, but year after year we are always struggling with it. By struggle I mean the dogs want to rip it out from under the tree and either sleep on it or tear it apart. Which becomes quite the thing in our home.  

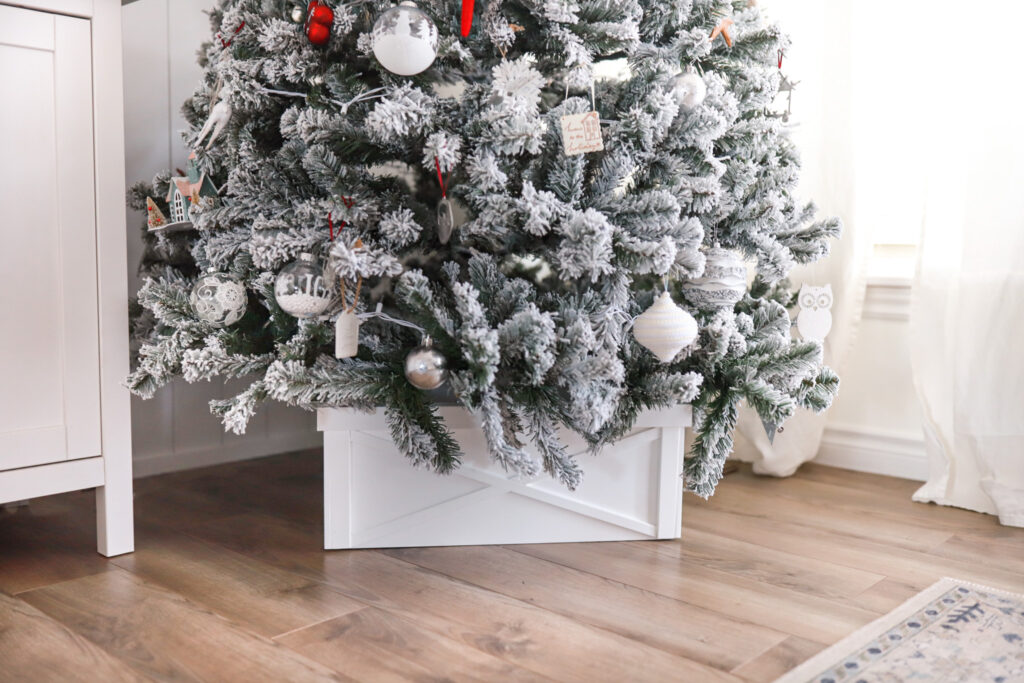
We wanted to create a Holiday collaboration project with Home Hardware this year. We thought to ourselves, wouldn’t this be a great idea to help solve that case but also give the bottom of the tree style and still hide that metal tree stand that’s always sticking out haunting us! 

To say that this one was an easy project would make you laugh because it was really easy to whip together and quite honestly the supplies are minimal and budget friendly. Which is always a bonus for us. 

We found everything we needed for this handy little project at our local Home Hardware store. Super easy and efficient to find. We grabbed a few L hinges, 2 locks, white paint we had left over, polyfill for the cracks, nails and of course the wood.  

WHAT YOU NEED:  

● Nails  

● 2 Locks  

● Polyfill  

● Sandpaper  

● 8 Small L hinges  

● BeautiTone Paint  

● Pine Wood Cut 11” x 11”  

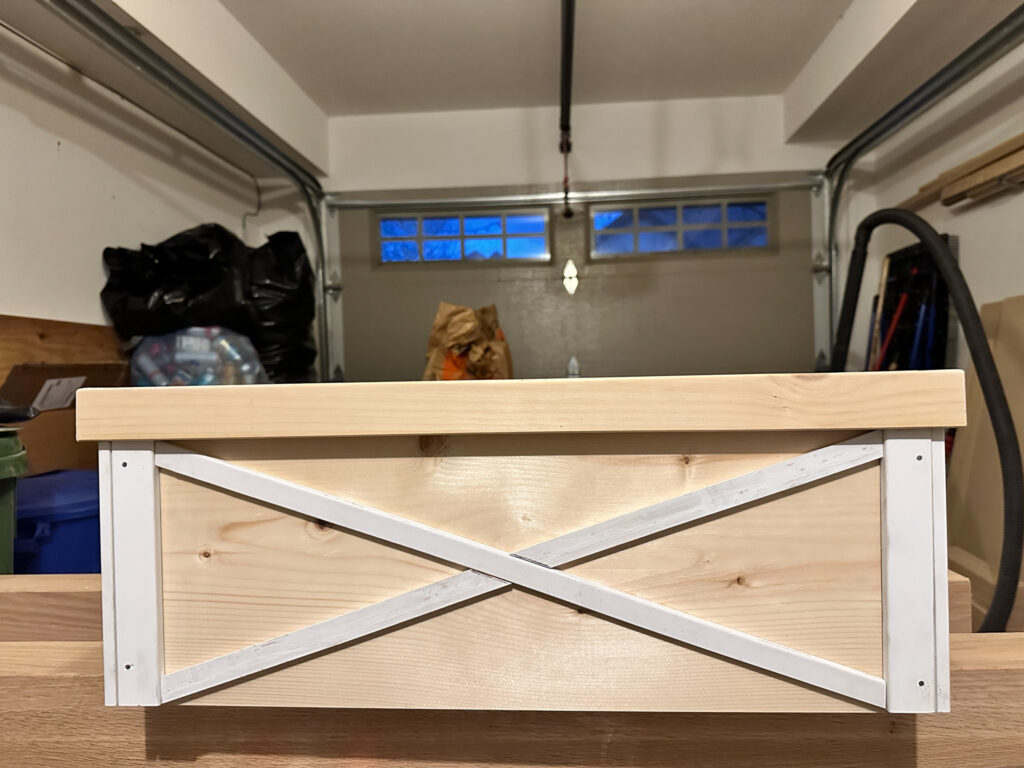
● Detail Wood Strips cut at 1”x1” (3 placed at the top, 2 on the sides, 3 in the middle marking the pattern X)  
HOW TO:  

First Step: So, you’ll want to figure out how big your box needs to be to house your tree stand. Ours was cut and sized at 11”x11”.  

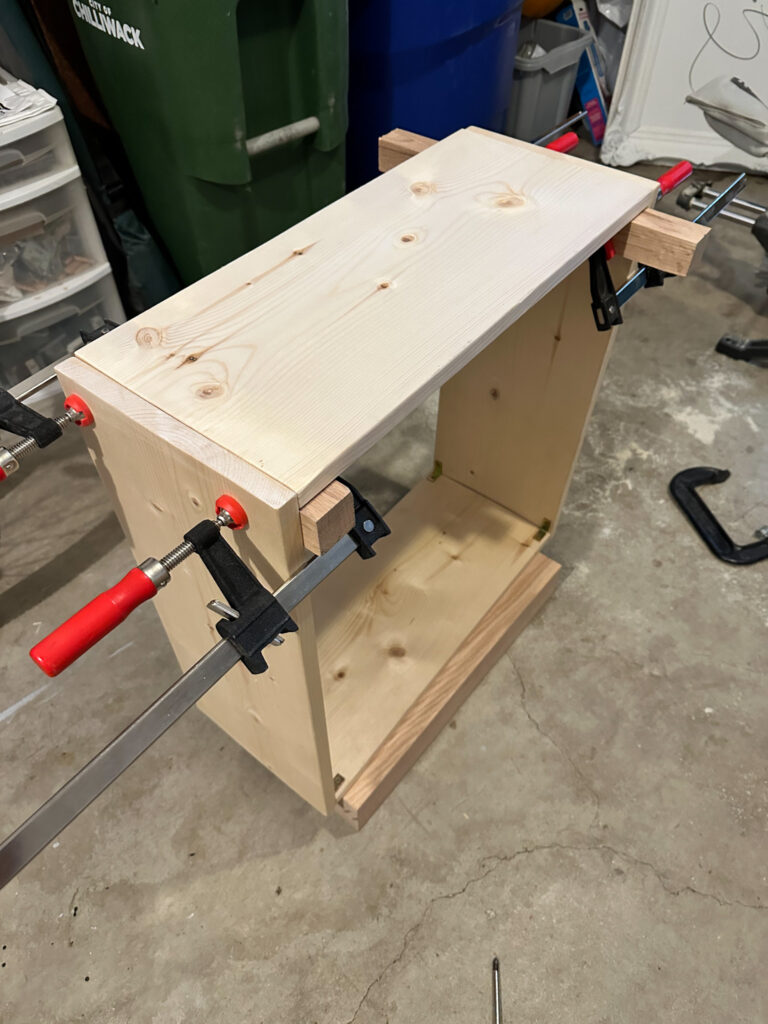
Second Step: Cut your pine pieces out to size. Nail all four sides together and sand it down.  
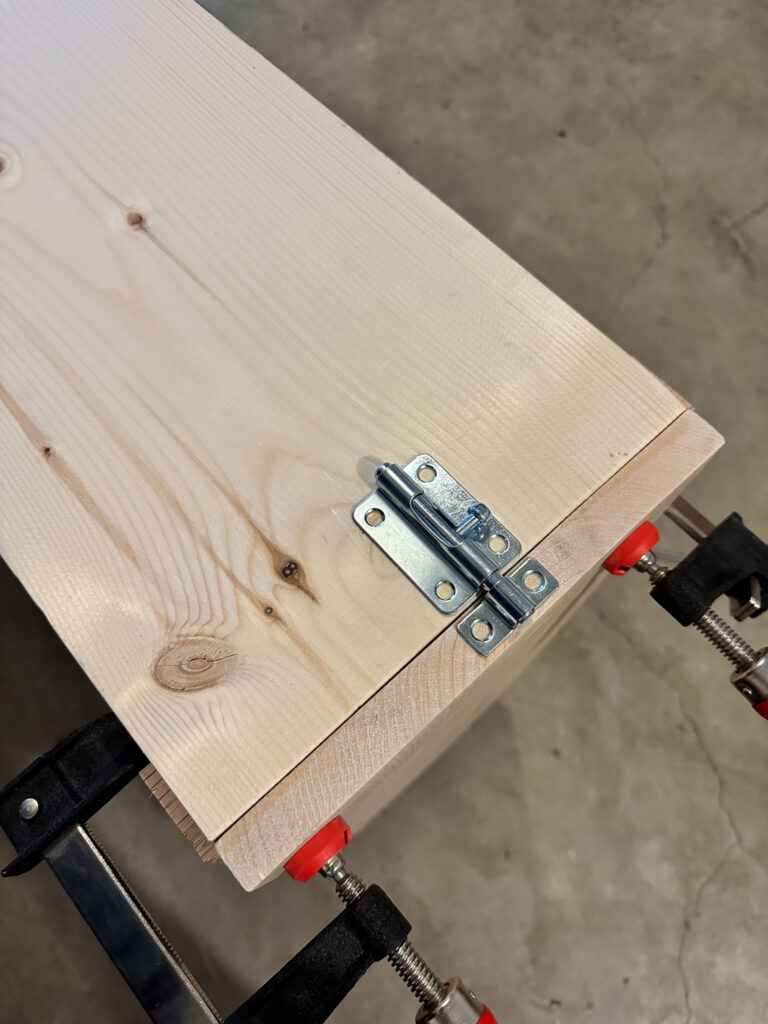
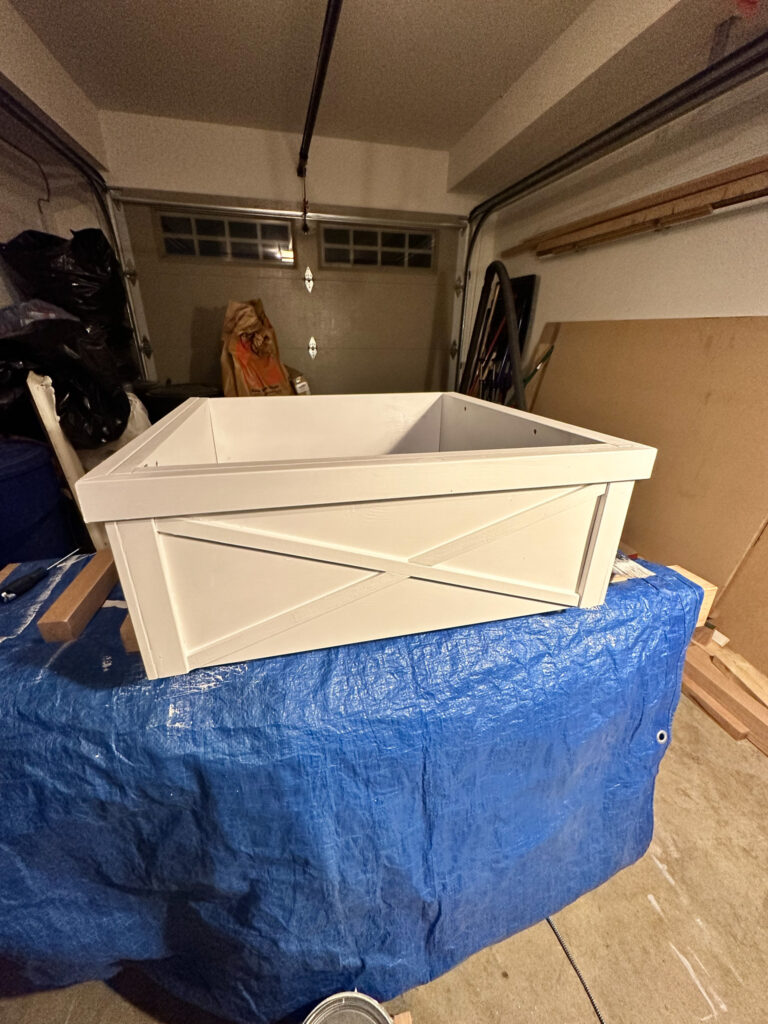
Third Step: We added some small cut out details on the front of the box for more design. But this is where you can really get creative with setting up your own style.  

Fourth Step: We left one side open to fit securely under the tree and placed locks on both sides so we could lock it in place. 

Fifth Step: Fill in all the holes around your box using PolyFill. After waiting for it to dry completely we painted it!  
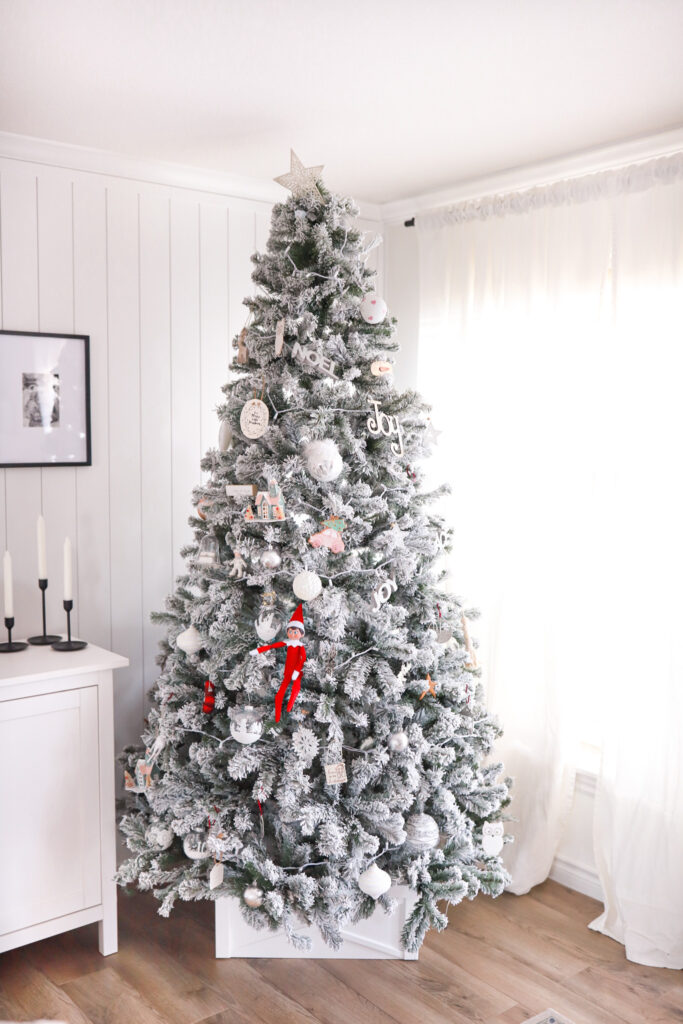
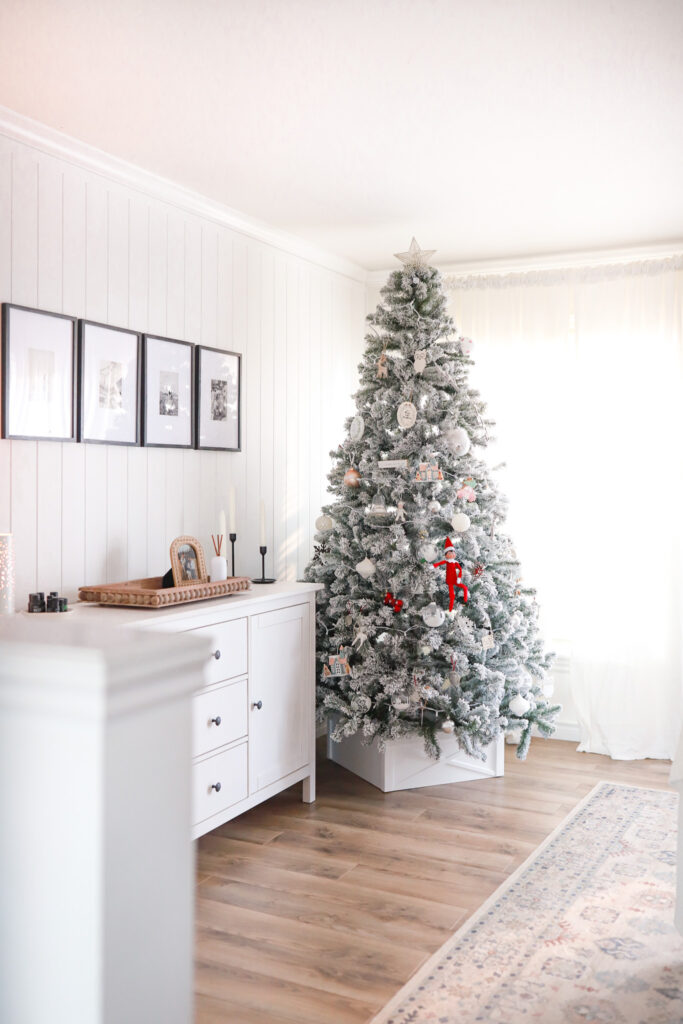
I loved how it came together and looks perfect under the tree! As time goes on, I think we might add some sentimental things like the kids hand prints or our last names, years etc. This piece will be in the family for many years to come!  

Keisha Lynne, xx

(Disclosure: This blog post is part of a sponsored collaboration and all thoughts and reviews are that of my own!)
Modern Farmhouse Dining Table + Bench | DIY with Home Hardware

Well I have been patiently awaiting the Holidays and it’s creeping up around the corner. Which has our whole family very excited because we love Christmas. The whole spirit of it, the energy and uplifting good we see around us. It’s an exciting feeling that is so powerful. But most importantly the best thing about Christmas is the good food, am I right?  

Read the Post

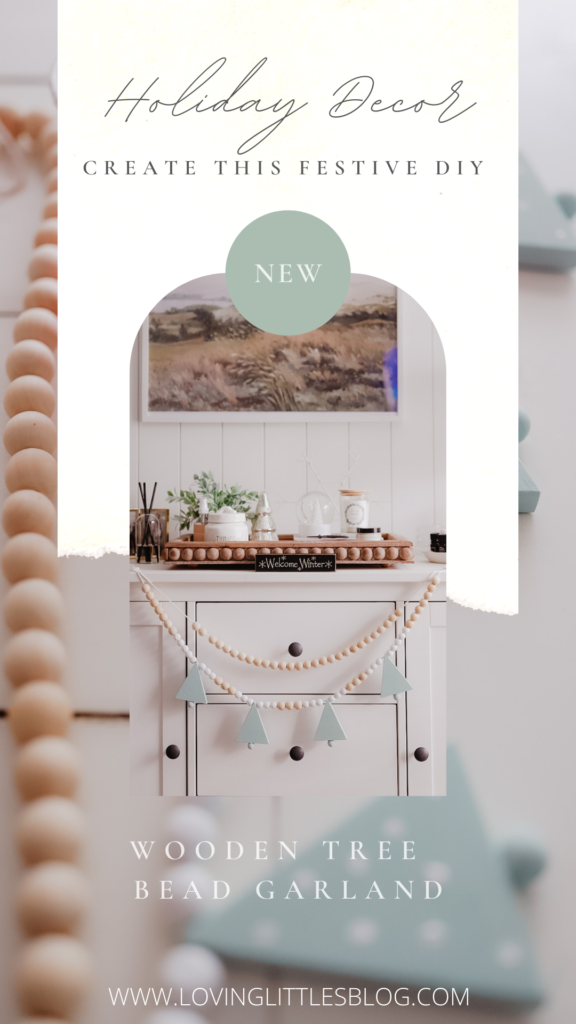
Wooden Tree Beaded Garland DIY with Home Hardware

The family fully decorated the home for the Holidays the other day and it’s pretty festive looking. Everyone is loving the cozy feeling of the lights, tree, and warm fireplace going. All while being cuddled up on the couch with our hot chocolates! It’s the best feeling.  

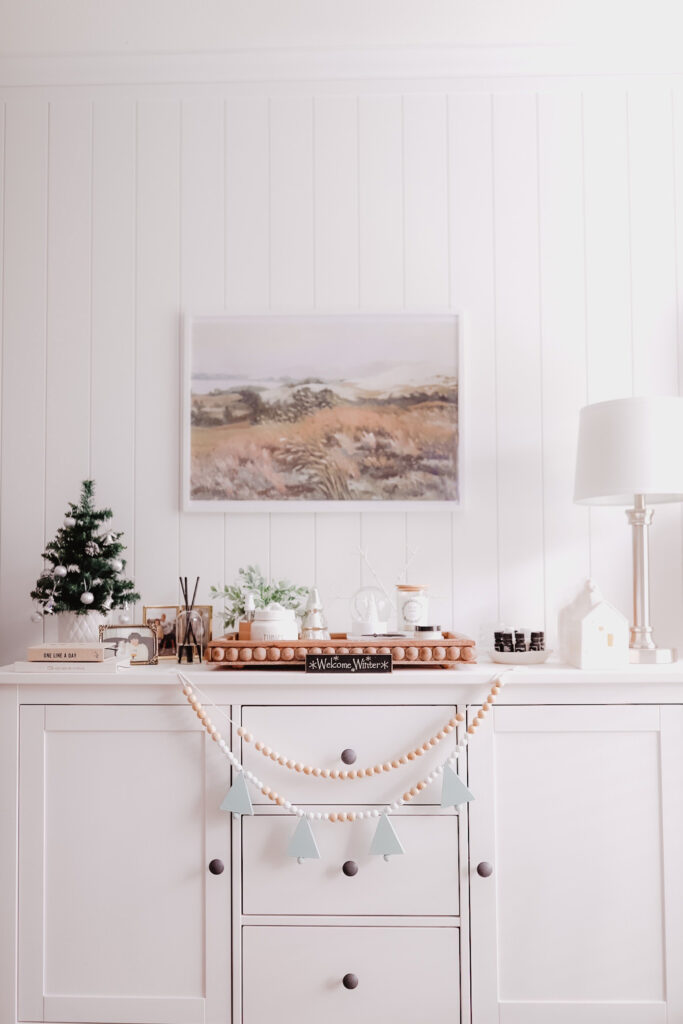
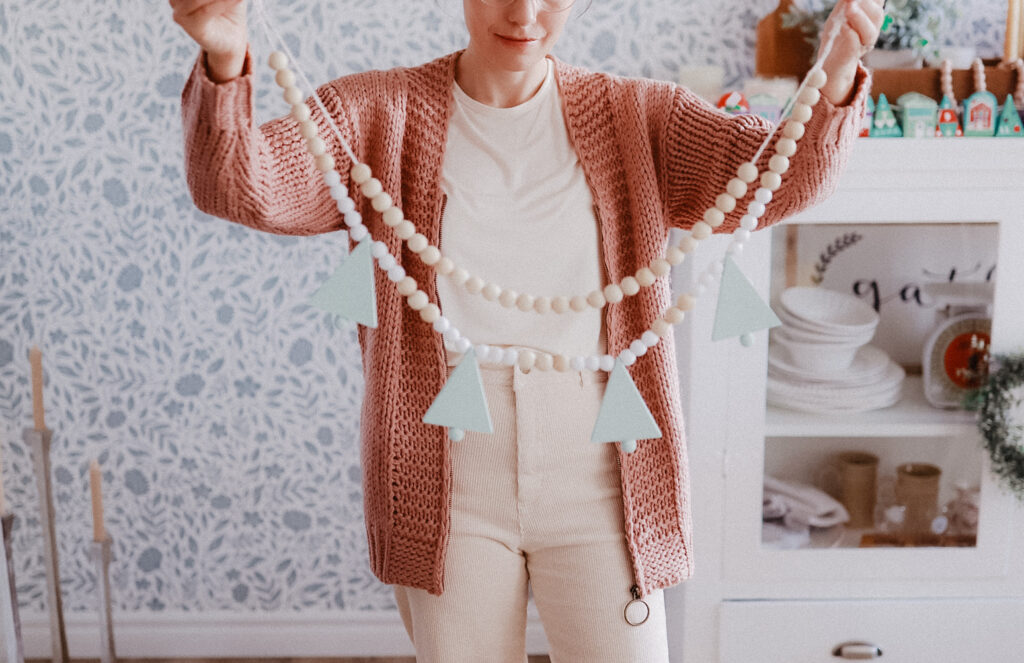
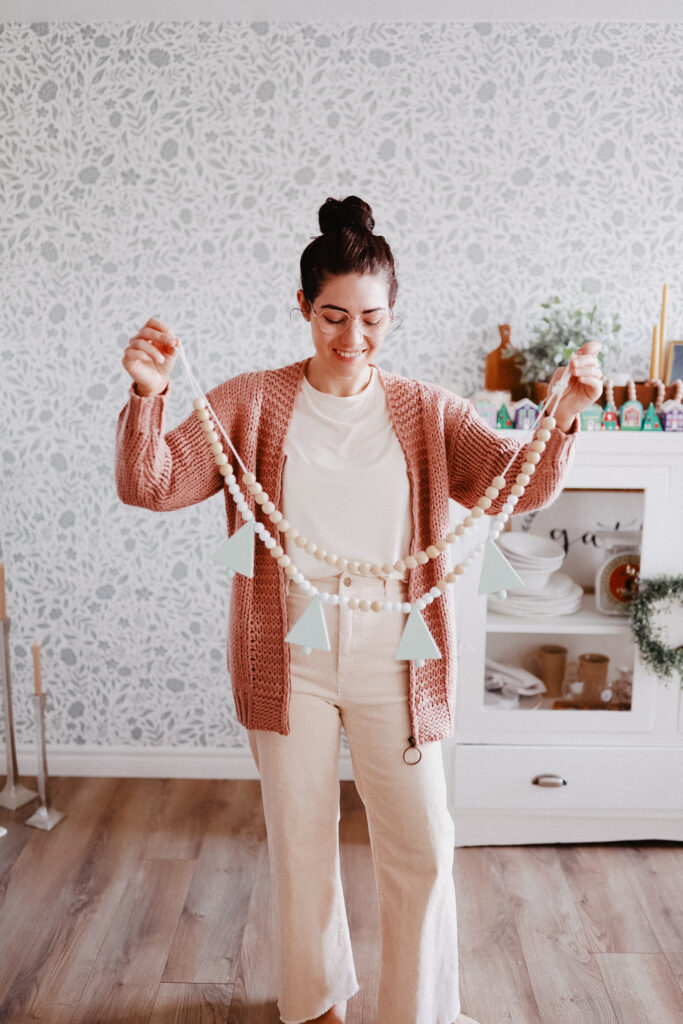
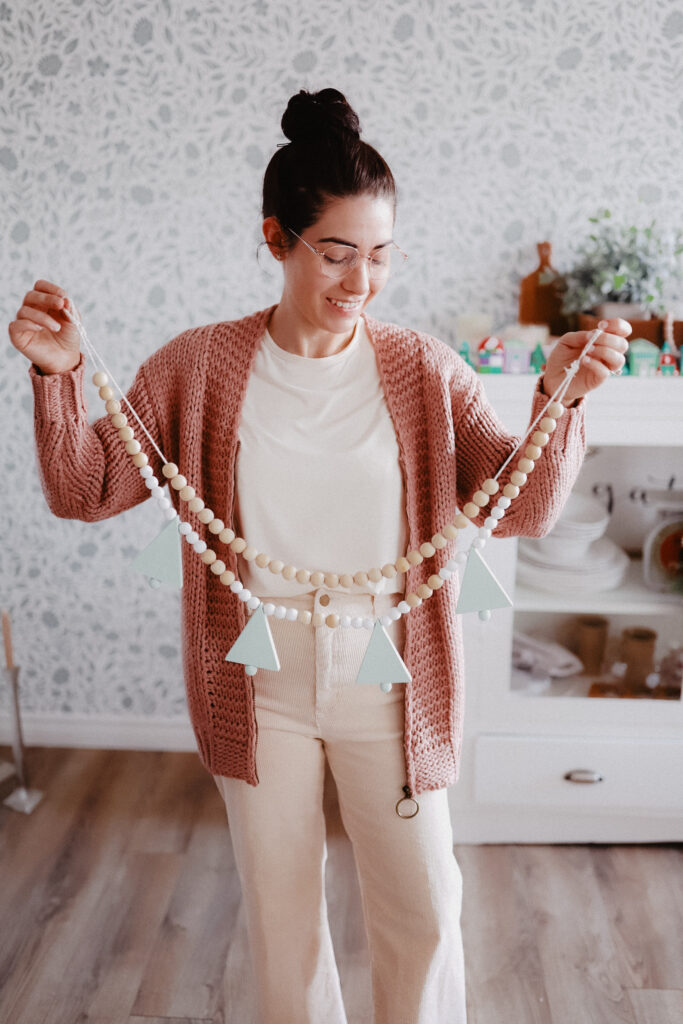
To add a little more Christmas decor to our home, we teamed up with Home Hardware and came up with a fun DIY plan, creating this Wooden Tree Beaded Garland.  

It was a really cute one to see come together and took us an afternoon to complete!  

What You Need:  

● Twine or Yarn  

● Wood Glue  

● BeautiTone Paint  

● Small Paint Brush  

● Wood Beads  

● 1/2″ Small Cuts Plywood (10×10” Square)  
What To Do:  

1. Cutting the trees! We cut the trees smaller, but you could make your cuts any size you’d like. We cut both sides at 4” and the bottom at 3”.  

2. Then drilled a small 3 cm hole at the very top of the tree to string in the twine.  

3. Glued a small bead to the bottom of the tree for the stump! 

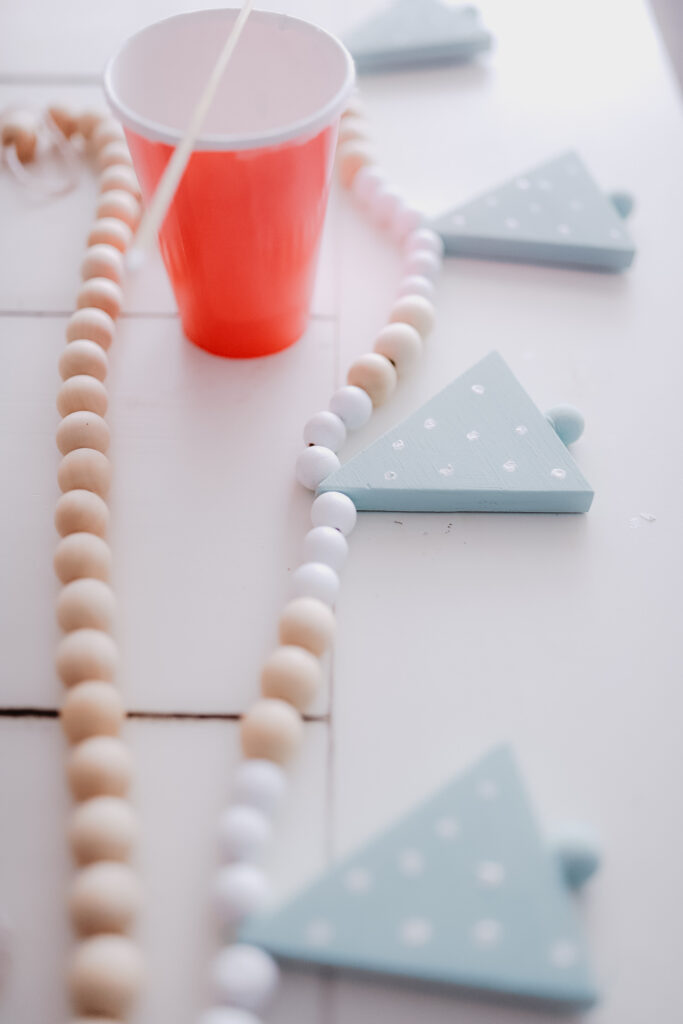
4. I then placed the wood beads on a skewer and painted the beads and trees. On one side of the tree I used the bottom of my skewer stick and painted white dots. I left one side plain green too! I can turn them around for a change!  

5. Once everything was dry, I organized the sizes of beads and trees. I decided to leave a few beads plain. I loved the look of the natural wood combined with the colours of the trees.  

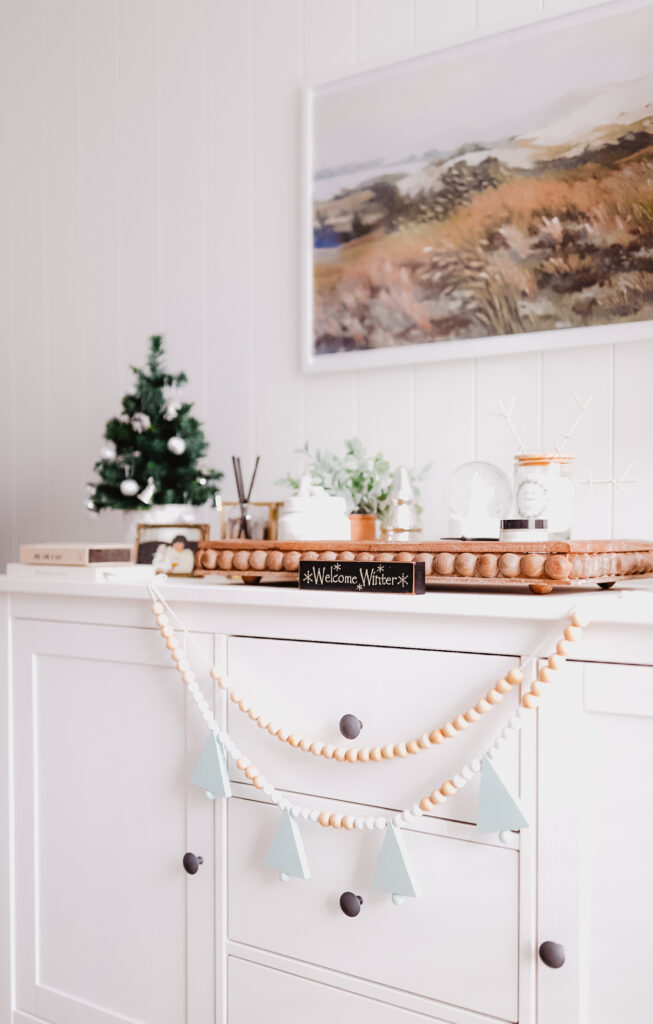
6. Then I strung them across and hung them!  

I love them so much! It looks so good all hung up. I’ve been playing around with where I love them the most,. Ffor now I love them hanging off our sideboard in the living room right where I can see them the most.  

Having everything come together for the Holidays is a lot of fun and being able to personally make something for our home with our own hands always hits differently! Something we created together! 

Keisha Lynne, xx

{Disclosure: This post was part of a paid collaboration. All reviews and views are that of my own}

Entry Hall Tree Storage & Bench

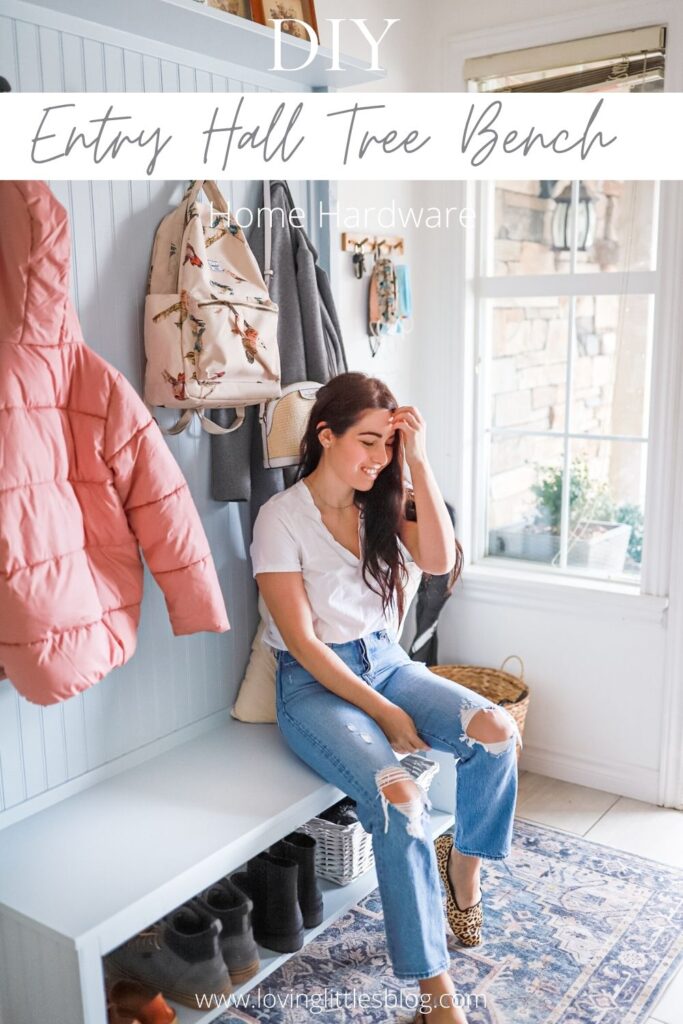
Our entryway has been an empty room in our home for a long time now. It was a clutter only zone for jackets, shoes, and bookbags. The dumping ground for everything! I’ve been trying to figure out how we could really utilize this space and organize it to make life just a little easier when coming and going. Especially in the mornings on the way out the door for school. Drew and I were super excited to get started on making this happen with Home Hardware. Our building gurus! It was an easy enough process that I’m  going to share with you today. Everything we used was found at our local Home Hardware!  

Read the Post

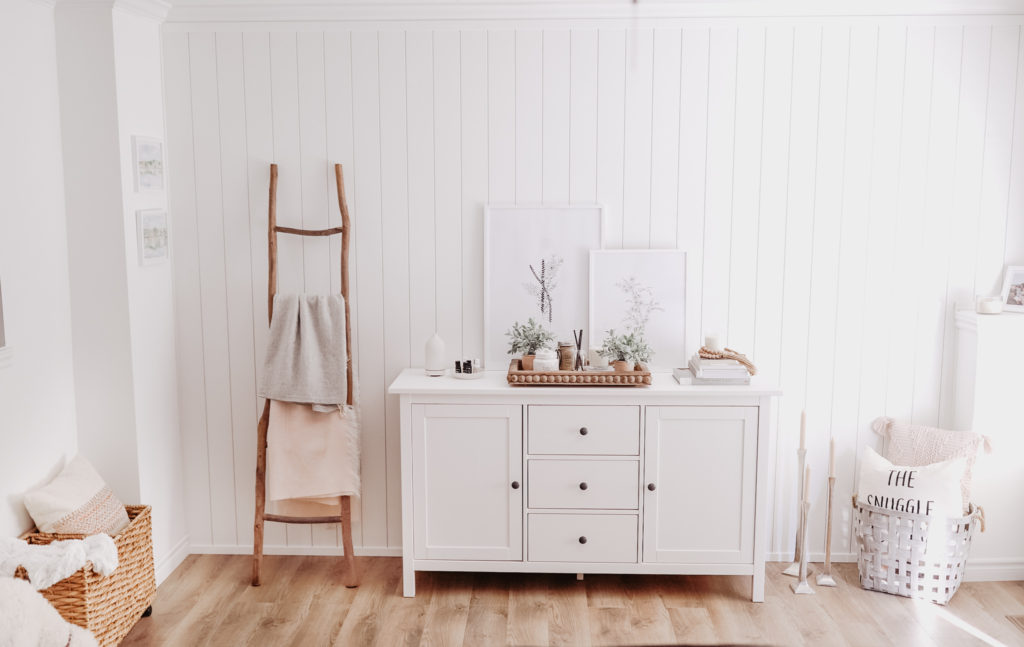
Easy DIY Blanket Ladder

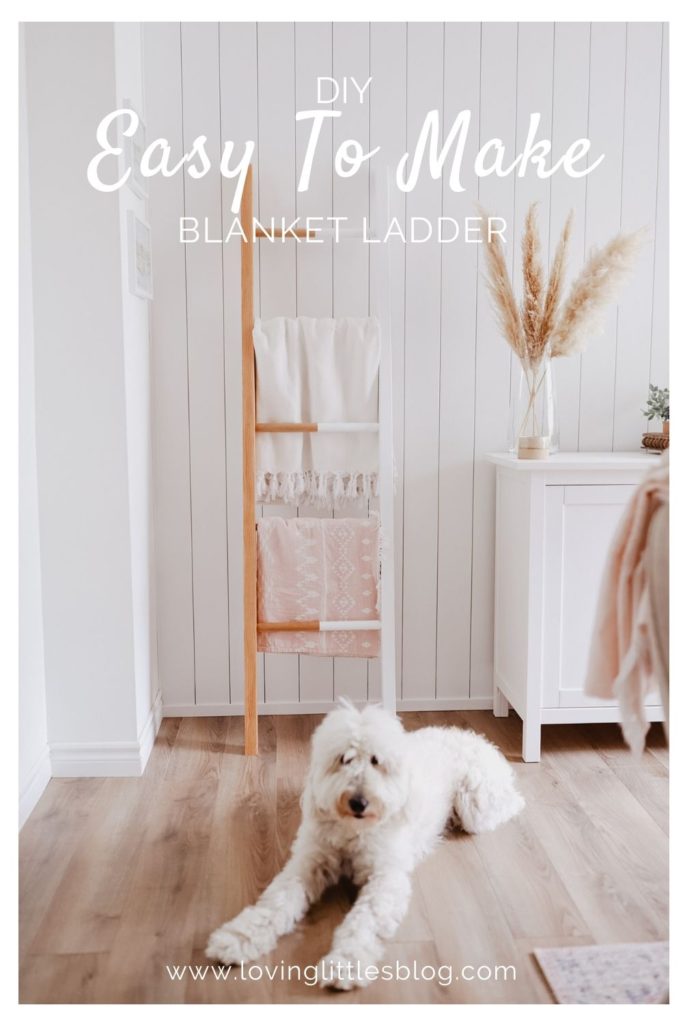
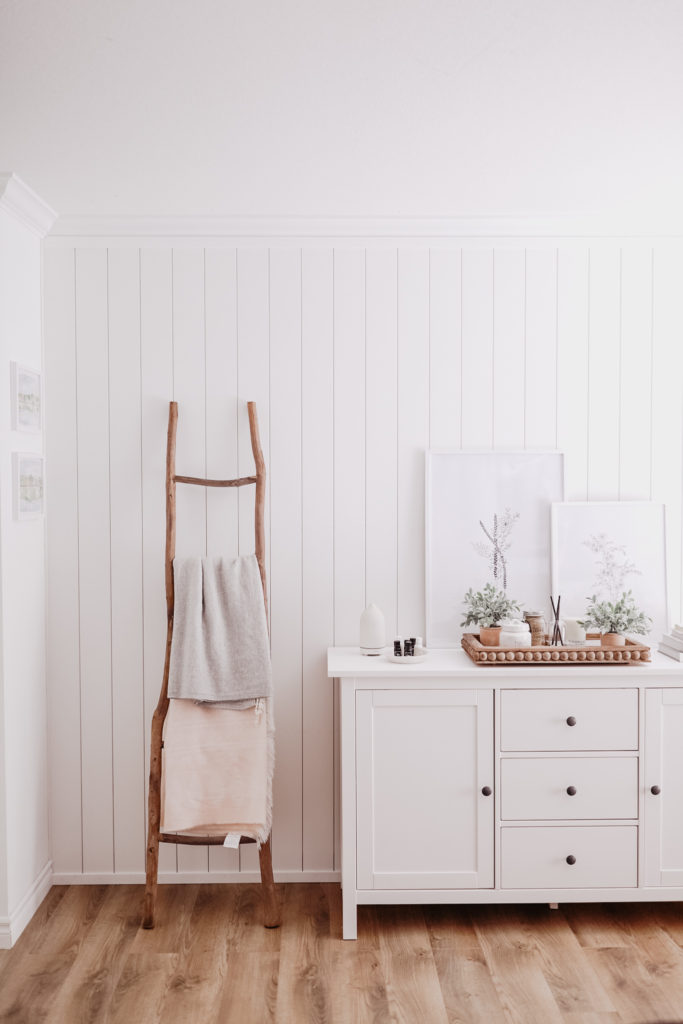
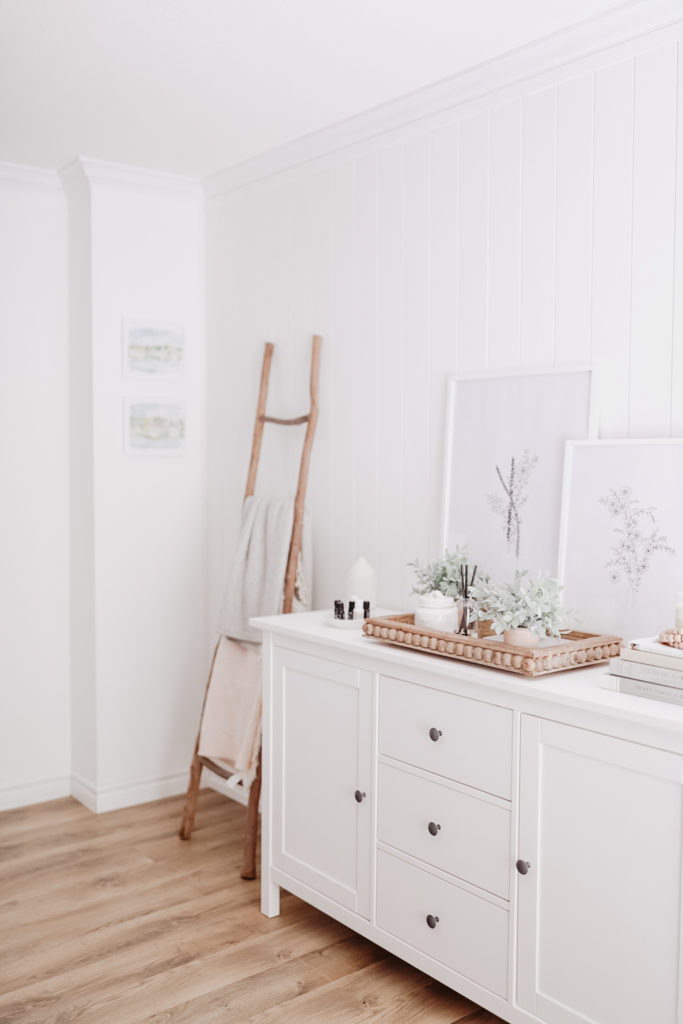
Fall is around the corner and we are gearing up for cooler & cozier evenings inside. Every Fall and Winter we bring out the blankets we have stored away awaiting these cooler seasons. A lot of the time we run out of storage and I’ve always loved the concept of blanket ladders around a living room or bedroom. Easy to spot in a room and to snag one off for the kids and ourselves.  

Read the Post

3 Make Your Own Outdoor Lawn Games Washer Toss | Tower Stacking | Bean Bag Toss

We have been busy over here creating some fun outdoor games for our family to enjoy this Summer. Since we’ll be close to home, we tried to find some really fun things to do in the backyard on those warm Summer evenings to not only entertain the family but also have a little bit of fun. So we’ve teamed up with Home Hardware to create these three games and to also share with you some easy, budget-friendly ways to do these games and have a lot of fun with your own family and friends this Summer home hanging out! 

Read the Post

Before & After Painted Vintage Dresser

Look at this fabulous job my husband did painting this vintage dresser!

Yup, I give him credit. I went into this project knowing darn well it was mine to do and my guy stepped right in. He loved the look of this dresser just as much as I did. The uniqueness of this dresser totally caught my eye. It was screaming my name and better yet it was screaming to be painted black. As soon as we loaded it home, Drew asked “What colour are we going with this time?” I knew it needed to be black. The antique look of the black and gold handles. I wanted the colour to keep it’s historic look and really make it pop.

Read the Post

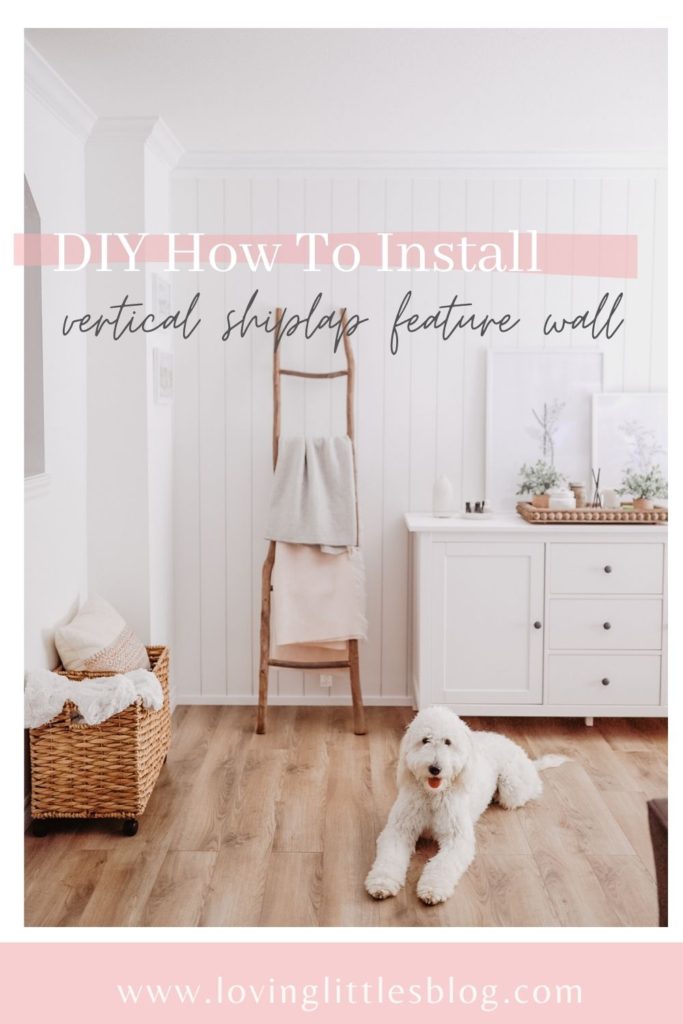
DIY How to Install Shiplap Feature Wall | Home Hardware

A little bit about the space… 

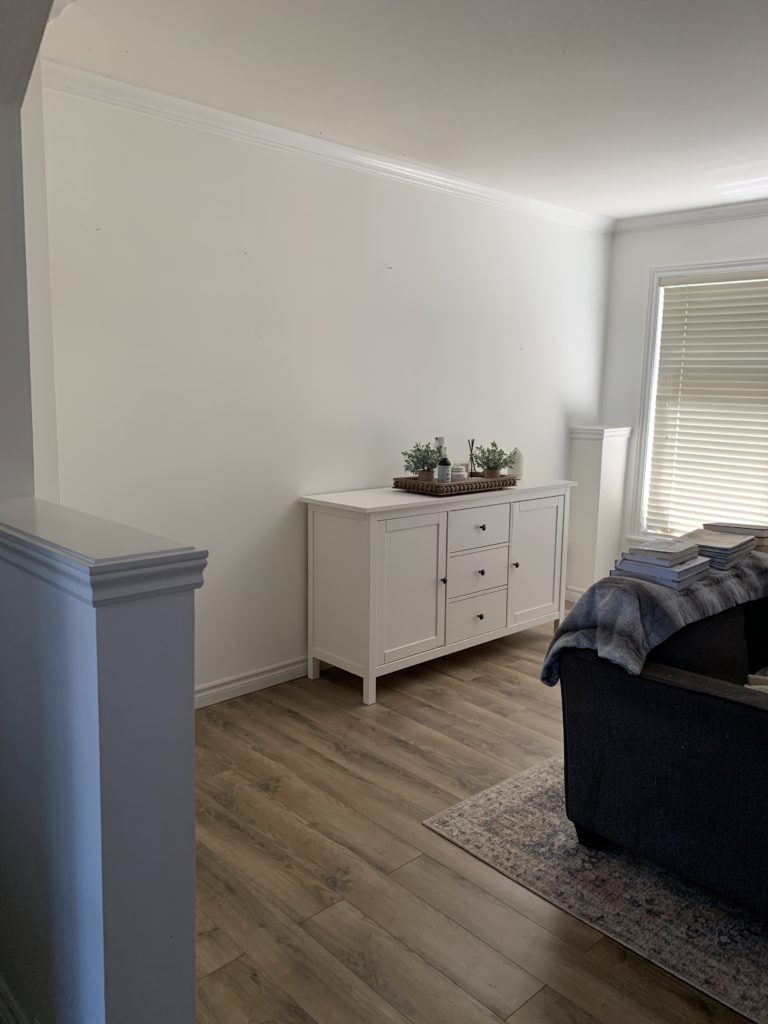
This is our giant living room wall. Since the day we moved into our first home, this wall has always had me thinking… “feature wall”. It’s long, lacks character, and is a difficult wall to turn into a gallery wall because it’s just so big. We kind of just kept it blank, pondering over what to do…
Until now of course! Drummm roollllll…. We created a shiplap wall! This idea was a seed that had been planted in the back of my mind about 4 years ago, and finally, it happened. We are very excited to share how we went about and created it. It was our first time ever attempting a shiplap wall, and I think we did a pretty good job. Shiplap is just one of those magical things you can easily add to your home, transforming any wall, big or small. It adds so much charm. 

Research… 

Before we started anything, we did our research. Finding ideas on, of course, Pinterest, laying out the mood boards in our minds, and talking to together on how we envisioned the wall. Once we agreed on the idea of how it would look, we started to research materials and cost at Home Hardware while working on a budget.


For any shiplap wall we totally recommend researching before staring. Make sure you have a game plan for what will work for your home. Everyone likes to install shiplap a little differently as we found on our research journey. A little piece of advice, if your project comes across a few bumps in the road, don’t get discouraged. Make it fun and go back to the drawing board. For us, we found a really great way to make all of this happen at our local Home Hardware. They had everything we needed for the project, and it always makes it easier when you find a place that is a one stop shop for all your project needs. 

Tools & Materials…. 

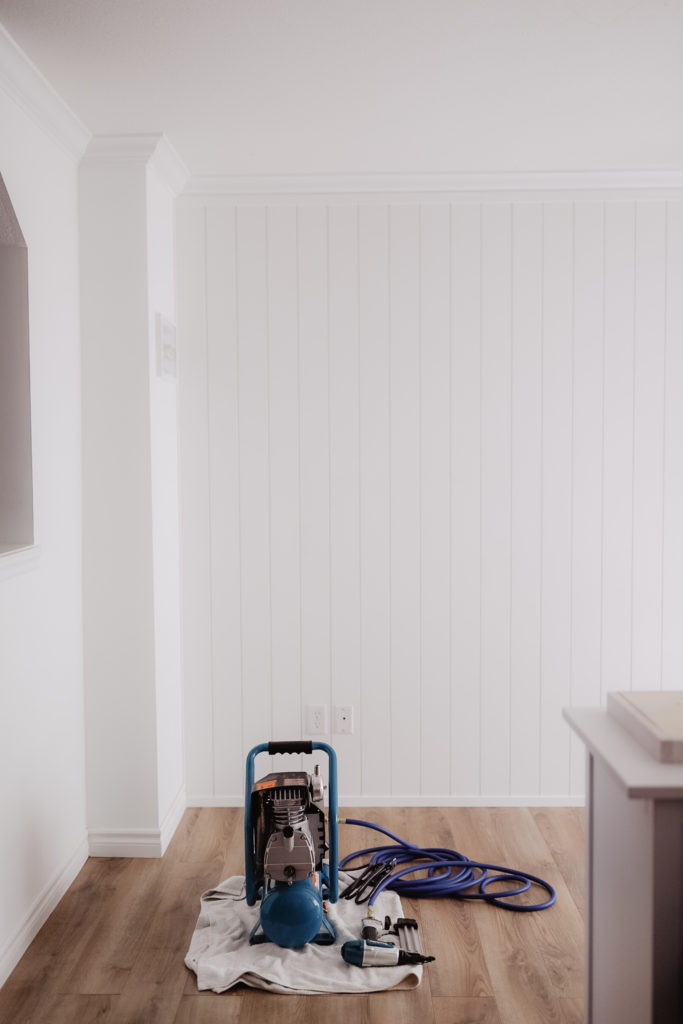
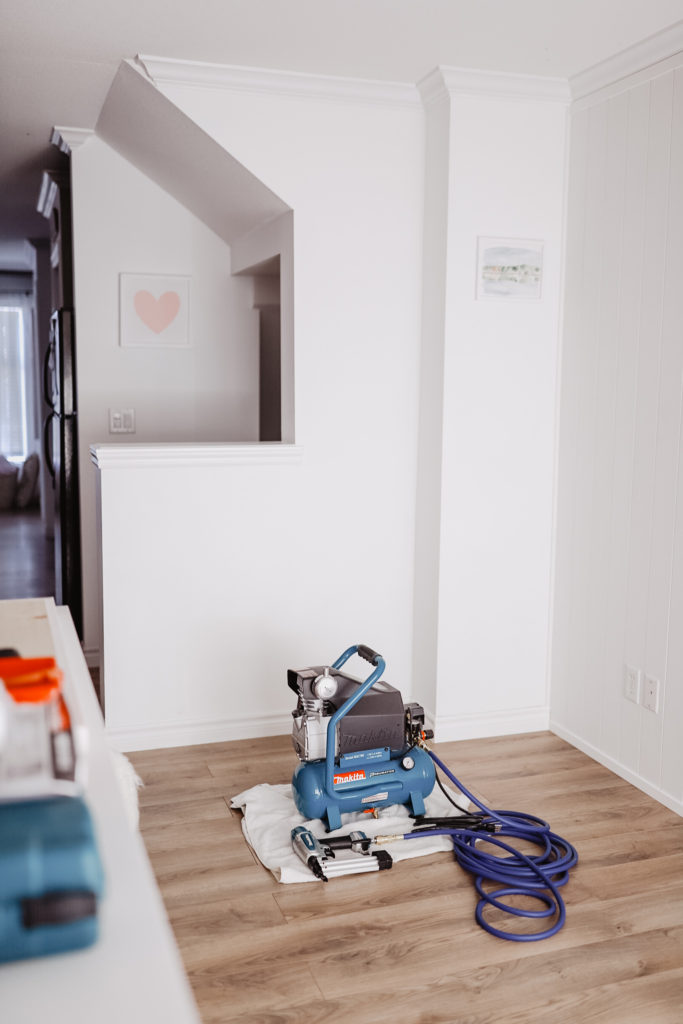
*Makita Compressor Nail Gun
*Spacers – a nickel could even work!
*MDF Metrie Boards
*Makita Saw
*Beauti-Tone Paint – Here Comes The Bride
*Caulking


We found 1/2inch white primed Metrie Baseboards for our wall and used spacers (nickels) to lay out the sections while pre-nailing pieces up. You’ll see in the photo below the tiny black spots in between each board. 

Wall Process | The How To… 

  • Work on a clean slate. Make sure the wall is washed down and rid of any dust wall bunnies. Making sure the wall is painted the same colour that you’ll be painting your shiplap is also another handy idea. This way you’re not having to paint the wall through cracks. 
  • Remove any baseboards and trim you might have. 
  • Pre-cut the boards to the length of the wall, depending on whether you decide to do yours vertically or horizontally. We pre-cut all our pieces and then laid them out and organized them. 
  • Once we had the correct number of boards we needed to cover the wall, we placed them up on the wall and added in our spacers to keep them from falling down. They stayed like this until we had the wall covered, measured properly, and positioned straight. 
  • Next part, nailing them in!
  • Caulking and filling in over each nail hole. 
  • Next, we painted the primed shiplap with Beauti-Tone paint. We used the same white paint we use on all of our walls, “Here Comes The Bride”. Priming the boards makes a world of a difference, it was less work for us when painting to have it already primed. 
  • Once the paint was dry after sitting for 24 hours, we replaced all of our trim and the baseboards went back up. 
  • When all Drew’s hard work was finished, I got to work on my favourite part – decorating!!! 

Voila…. 

And done. I’m so happy with how it turned out. It was fun to find this idea and go with it. The size of your wall will help you decide on whether you want the shiplap laying horizontal or vertical.
After reading some design websites I had a lightbulb idea. Our living room wall already looked and felt long, so going with the traditional horizontal shiplap would have made the wall feel even longer. Going vertical is something new. It’s a little more unique and it makes the room feel the size that it is. It makes the wall appear taller and gives it a cozy feel, which is exactly how I want our home to feel coming into this new fresh Fall season! 

Have you installed shiplap in your home before? I would love to hear more about it down below in the comments! 

{Disclosure this post was a sponsored post as part of a collaboration program, however all opinions are my own}

Keisha Lynne, xx

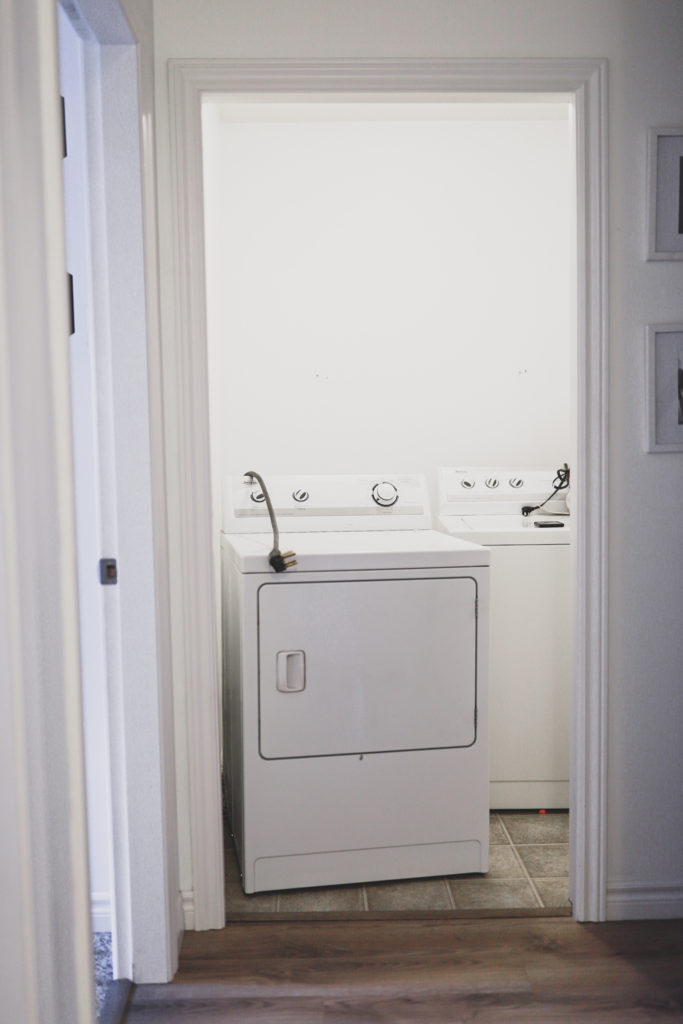
Laundry Room Renovation with GP Furniture and Home Hardware | Before & After

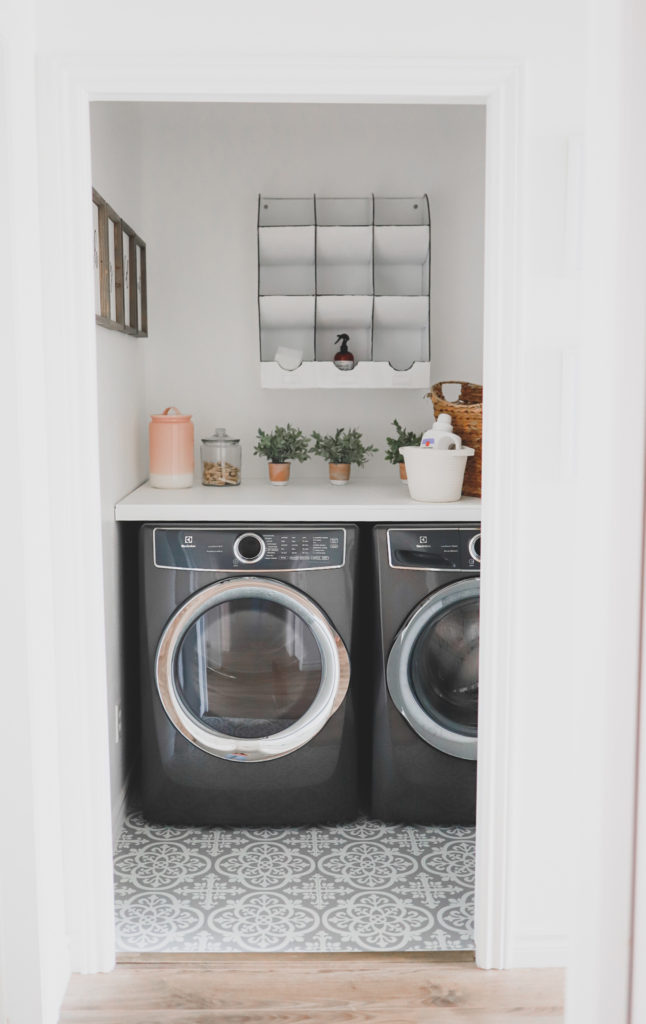
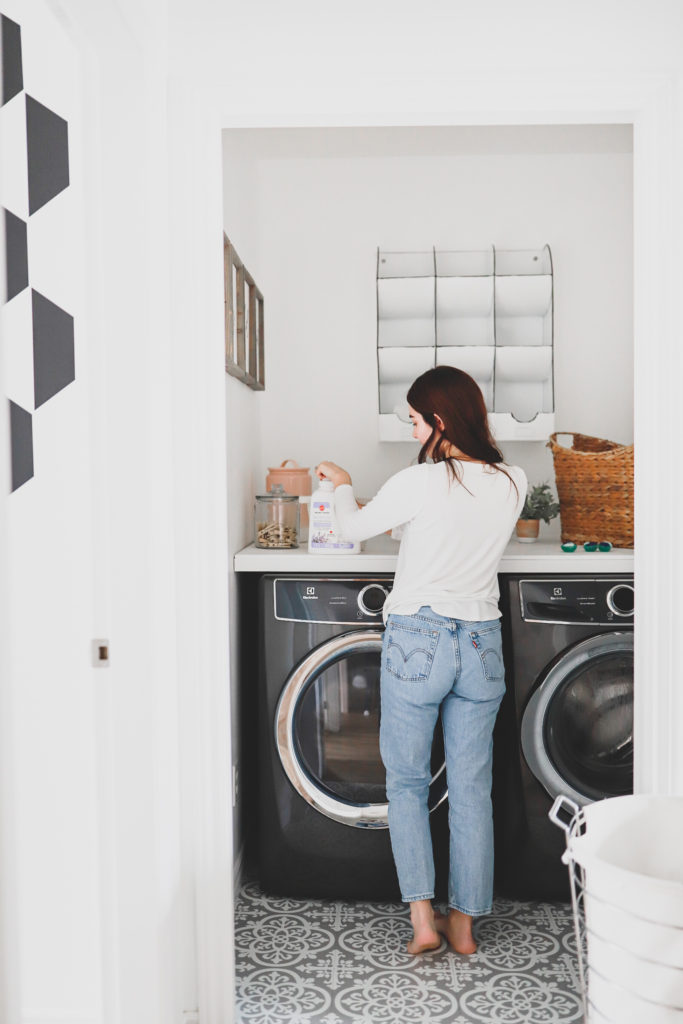
Today is an exciting day. Today I get to share with you our laundry room. The before, the after, the products we used and the efficient help we received from GP Home Furniture in picking out the best washer and dryer for our family! From start to finish this room gave me butterflies the whole time seeing the process slowly come together.  

Yes, it’s not a huge room to worry about but for myself, designing something with some functionality was a big part of it. Creating something with a fun and modern farmhouse look was important to me. Making sure everything is properly installed and in working condition was a major key to getting this laundry room in order. I feel very lucky to have a walk-in room to work in because let’s be honest, the laundry room is the room where I spend a lot of time at the end of the day.  

It’s also the main focal point you see when you’re first walking up our home stairs to our second floor. To me this room is just as important as any of the other rooms we use daily.  

Our first step in making this transformation happen was finding all of our building materials and paint supplies at Home Hardware. Everything we used to make this room happen is from Home Hardware. They have the best selection of products and really fun, creative and budget friendly ways to spruce up any space.  

Then we connected with our local furniture and appliance family owned store GP Home Furniture. Home Furniture is a division of Home Hardware. Meeting with Brandy and Matt was such a fun connection to make. Both owners are husband and wife and they tag teamed helping us in big ways. Making the choice an easy one. They gave us a full education on how and what we truly needed when it comes to a washer and dryer for our family’s needs. I have to mention as well, the store is gorgeous, and I’ll never need to look at another home store again when it comes to appliances and furniture! 

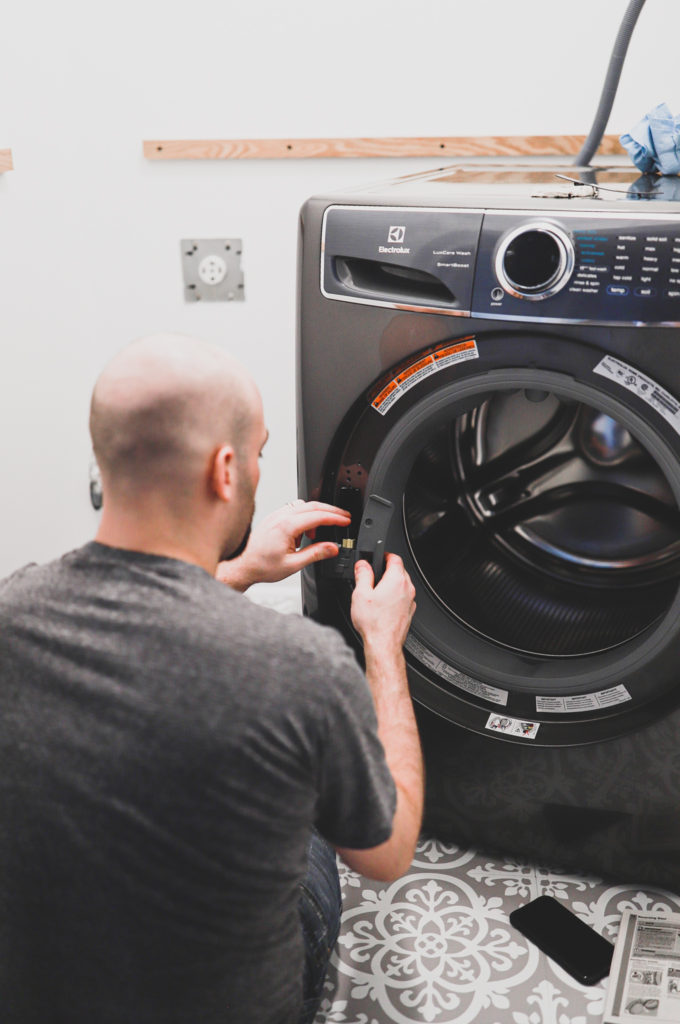
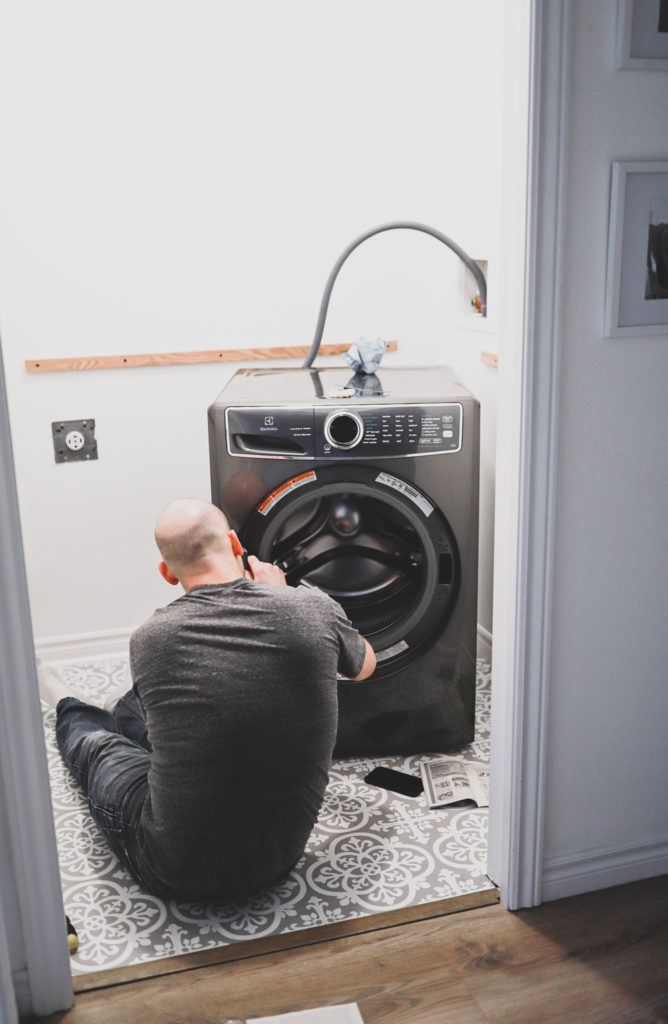
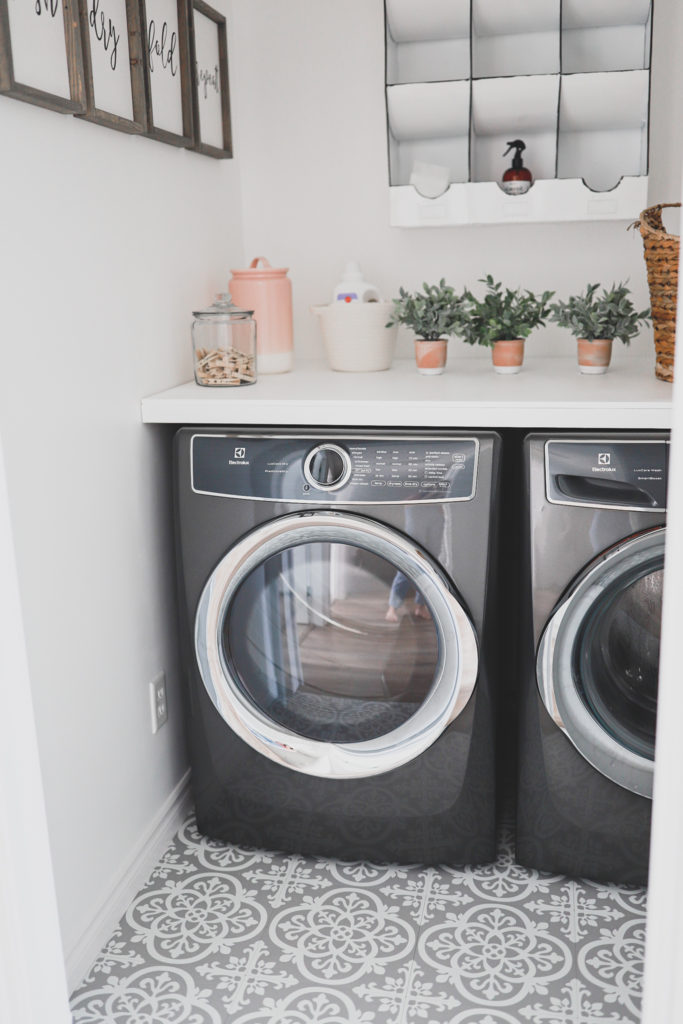
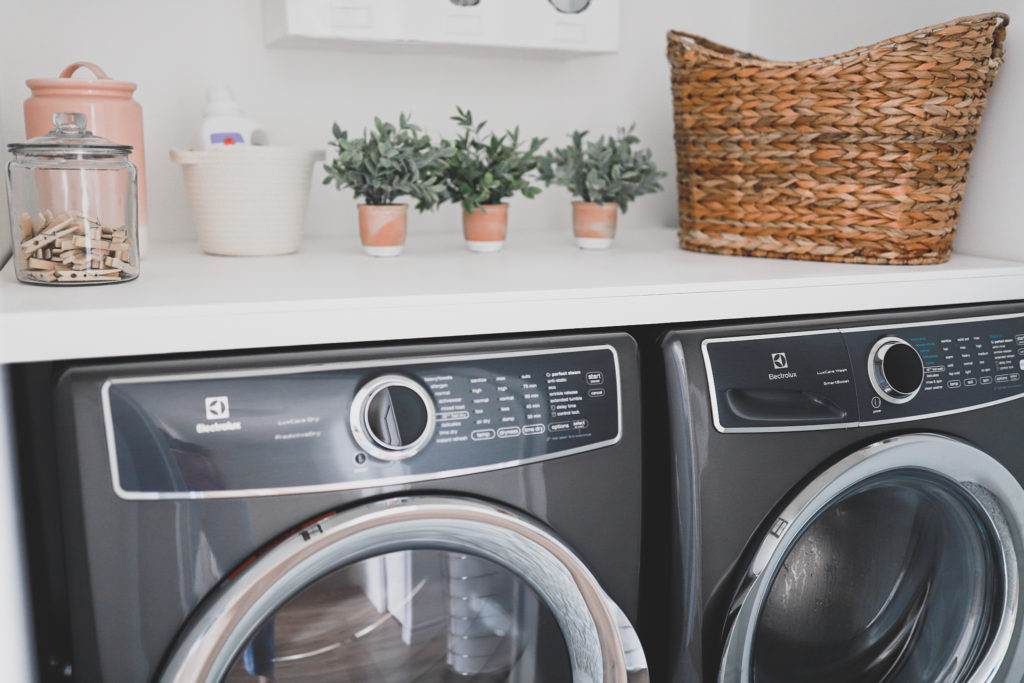
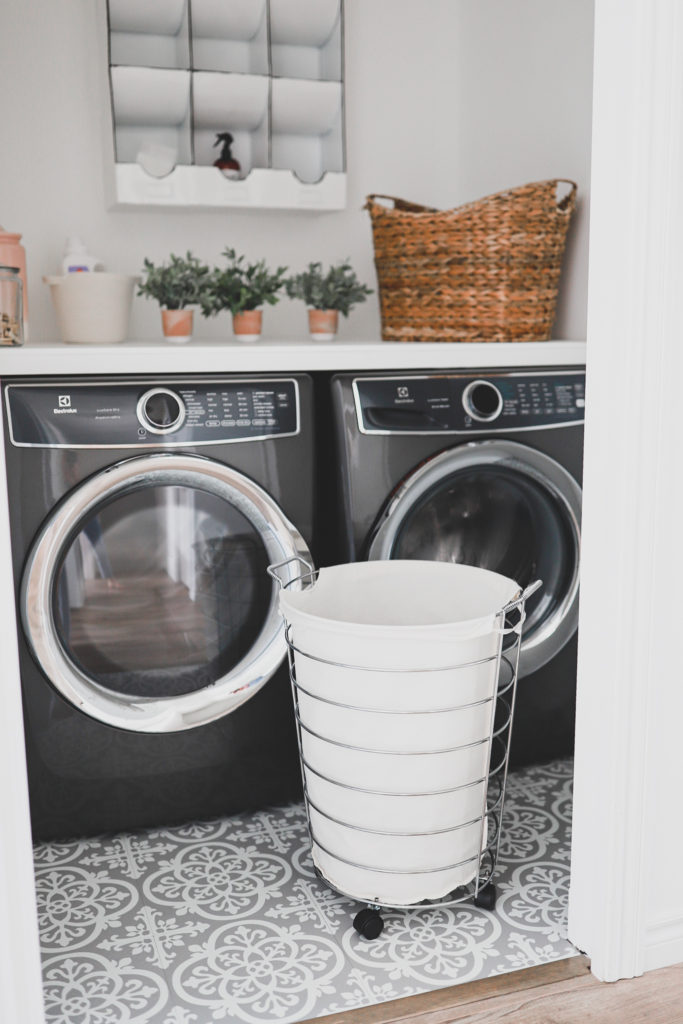
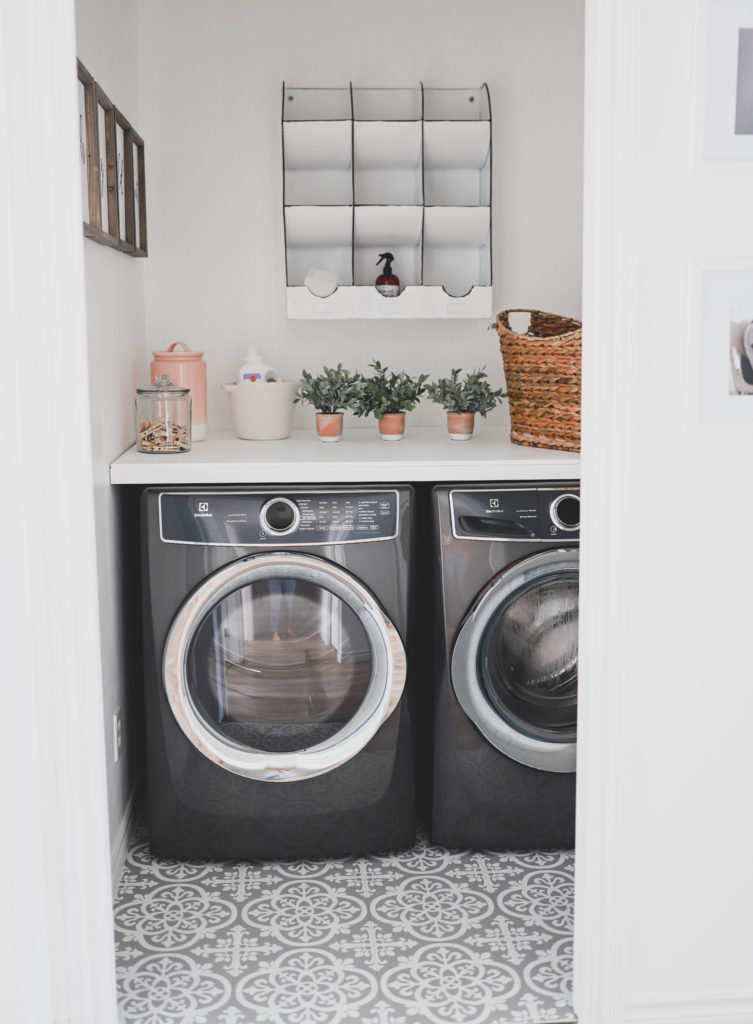
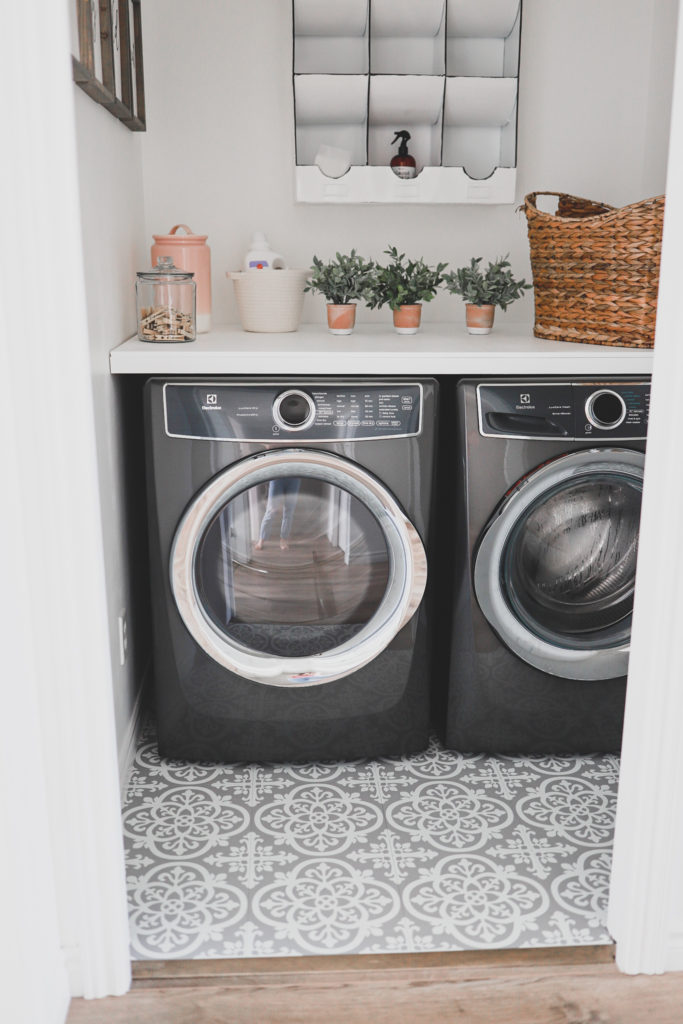
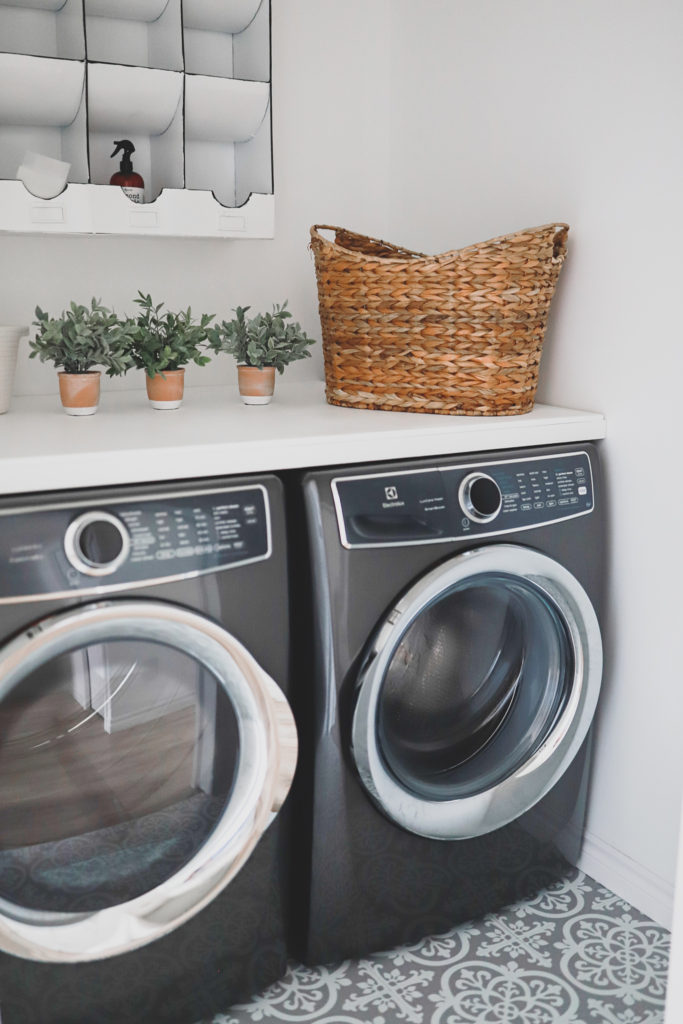
We decided to go with the Electrolux 627 Series Laundry Set in shiny silver/grey! It’s beautiful and the quality of this set is amazing.  

Steps In Creating This Laundry Room Transformation 

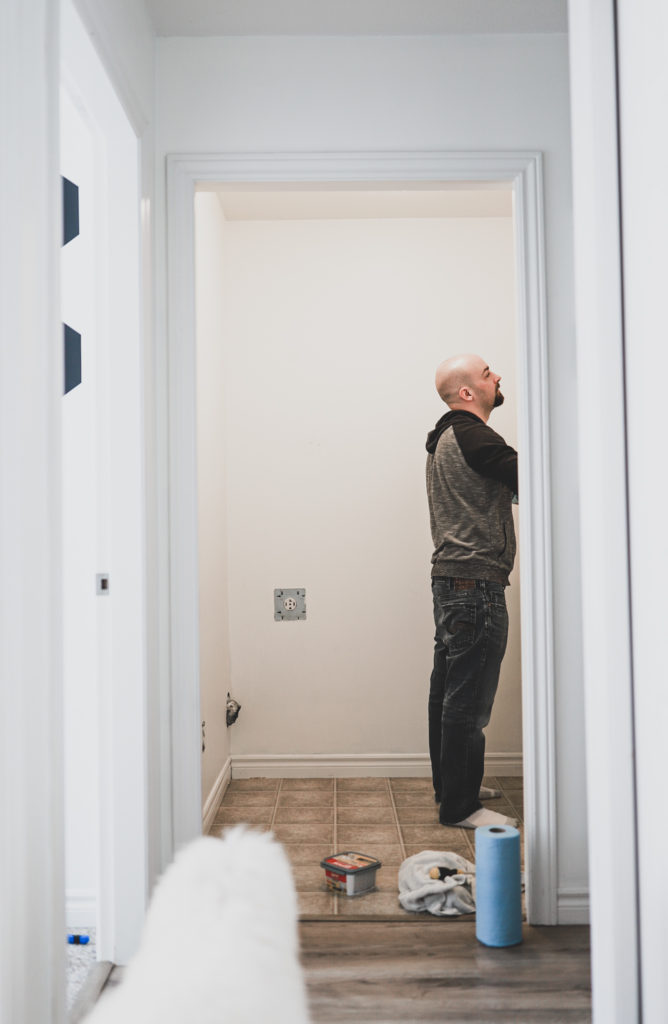
  1. First we had to prep this room. I don’t think it’s been touched in; I want to say at least 6 years. So yes, lots of prepping and cleaning was done and lots of lost socks were found! 
  2. We painted the walls using Beauti-Tone Designer Series paint. The colour we chose is called Here Comes the Bride (WB001-0).  Here Comes the Bride WB001-1 

As a bride on her wedding day, this beautiful white is breathtaking in any room you choose. Perfect for trim or a whole room; this white will be a perfect marriage with any colour. Undertone: This colour does have a touch of warm comfort value thanks to a whisper of yellow. 

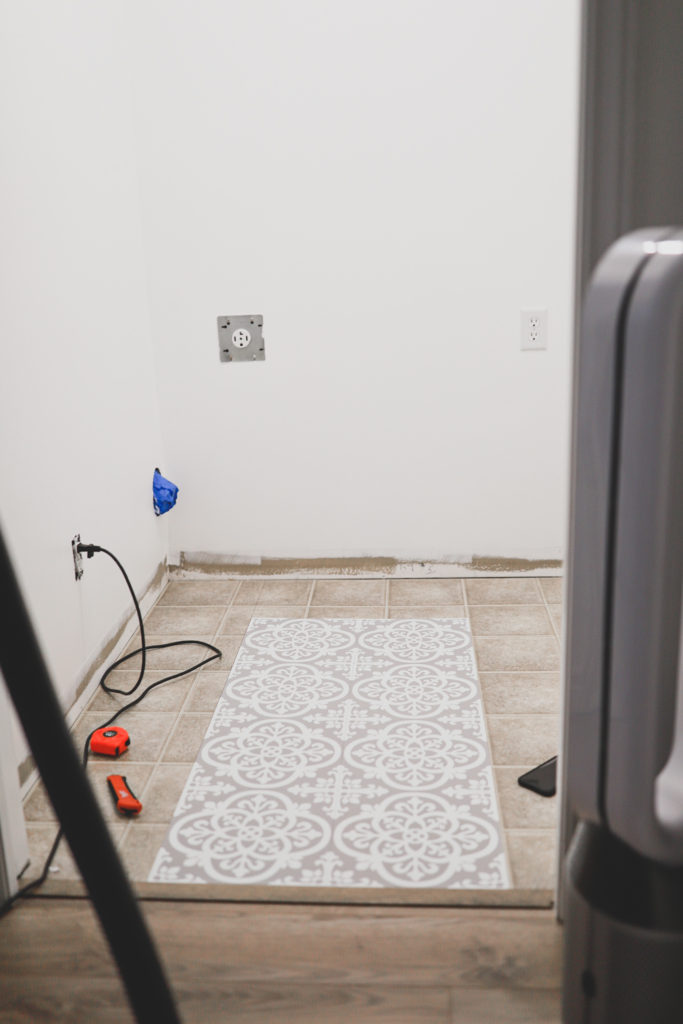
3. By this stage, we were ready to install our flooring. Using FloorPops was a treat. There was no removing of any floor underneath. It strictly goes over any flooring and it’s very quick and easy to apply. It sticks nicely without any overlapping or loose corners. The design we went with was Medina. Peel and stick vinyl flooring!  

4. Flooring was down and the walls were painted. We then went ahead and added brand new trim which we then touched that up with paint.  

5. Delivery Day!! GP Home Furniture came and helped us bring in our new Electrolux washer and dryer set. All while taking away our old set and recycling them for us properly. They can even install as well! This whole process on delivery day I kid you not took maybe 25 minutes. Their delivery team was a huge part of making this process on this day so easy. They were awesome and worked so well together.  

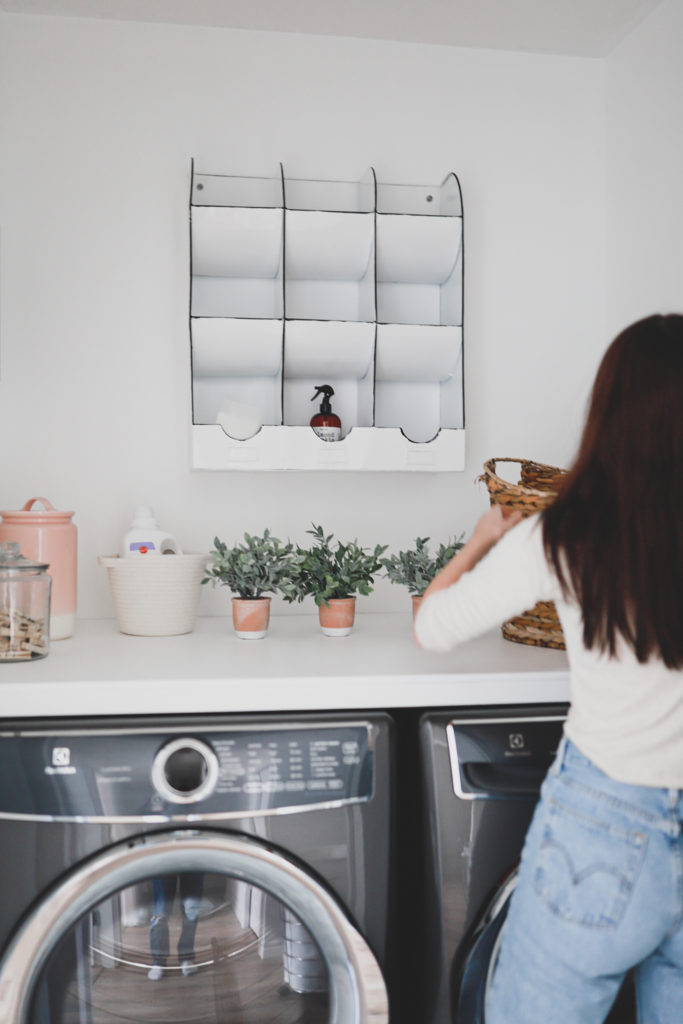
6. Shelvesssss. This is where we had our biggest stress. Measuring, fitting and finding the right colour for our folding table shelf. Drew figured it out! He fit it all together and we painted them using the same paint we used on the walls.

7. Next step was cleaning everything up. The FloorPops are really great to clean.  

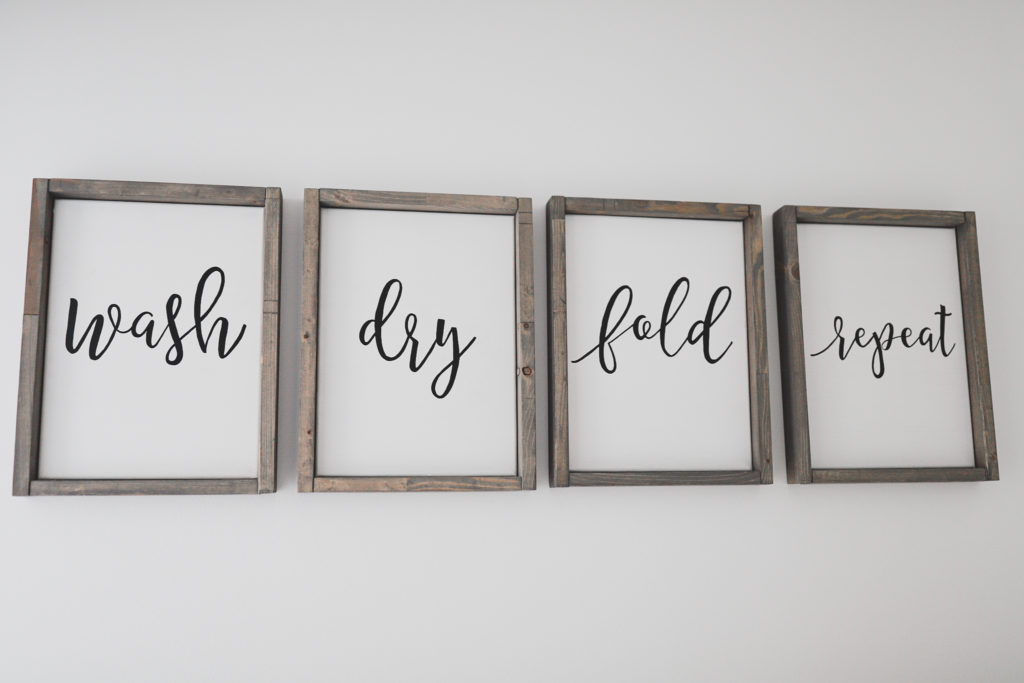
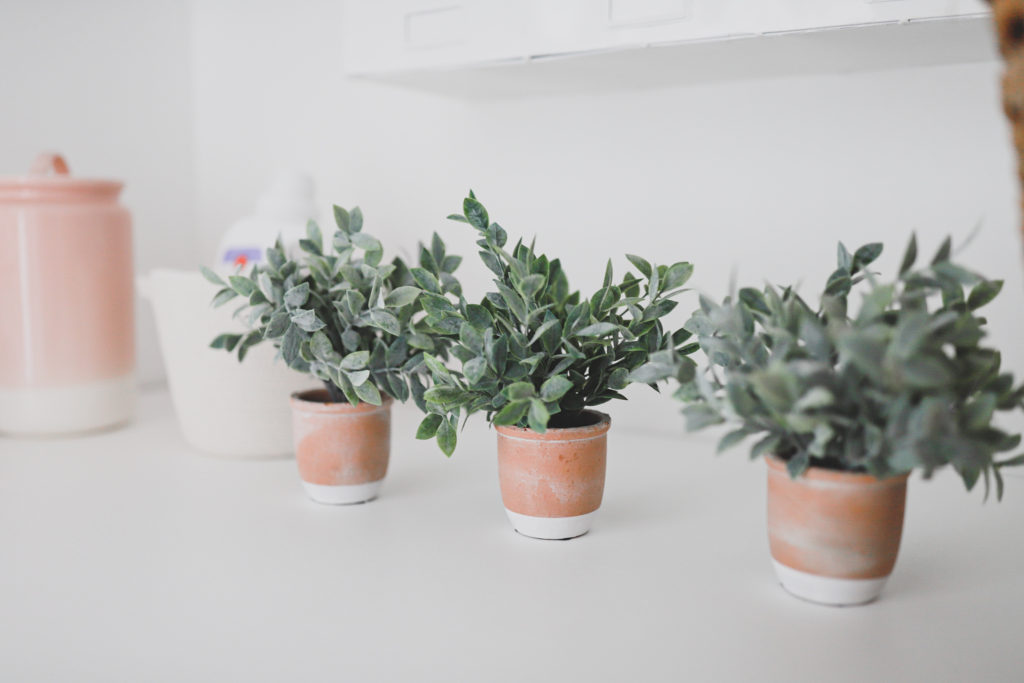
8. The last step was decorating. and Pulling in some colour along with some essential laundry room details we all need on a daily basis to get our clothes clean! 

One thing Drew and I really hone in on when it comes to home renovations and sprucing up spaces is that with Home Hardware, it really doesn’t have to cost a huge dime. The renovations can be done quickly and easily. As well as having these small changes to make a room feel brand new again just feels good in our home! We spend a lot of time here with our kids and always thinking about new ways to manifest a calm space with all the things we need every day to make our life just a little bit easier. Plus, a pretty space never hurts anyone, right! 

I loved that we went with GP Home Furniture in choosing our washer and dryer. The Electrolux set is the perfect set for us.  

Some really awesome features about this series are… 

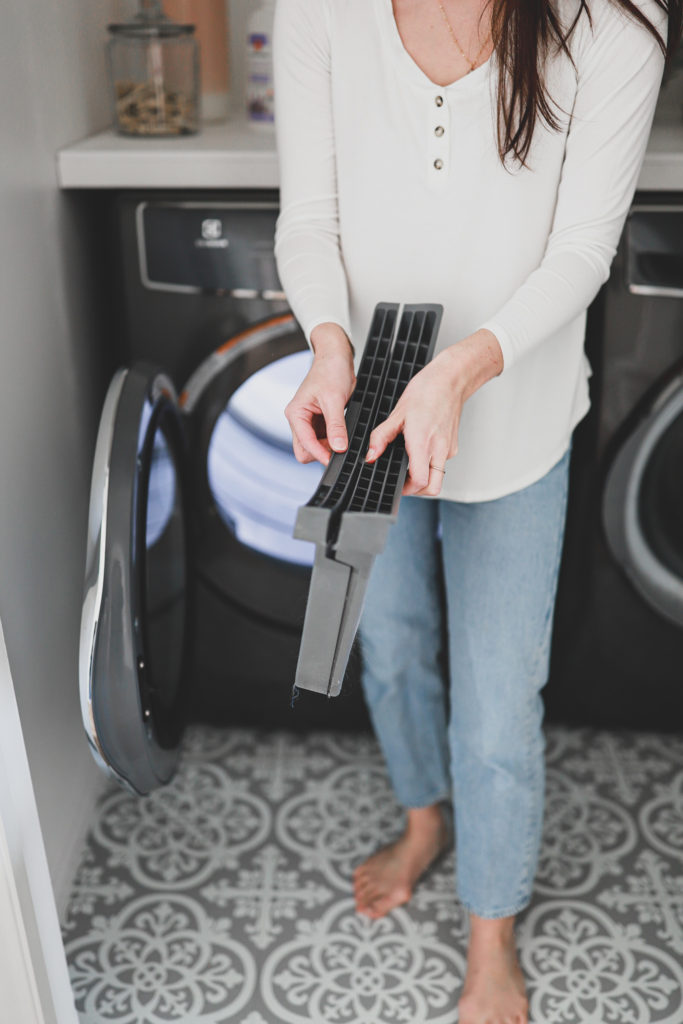
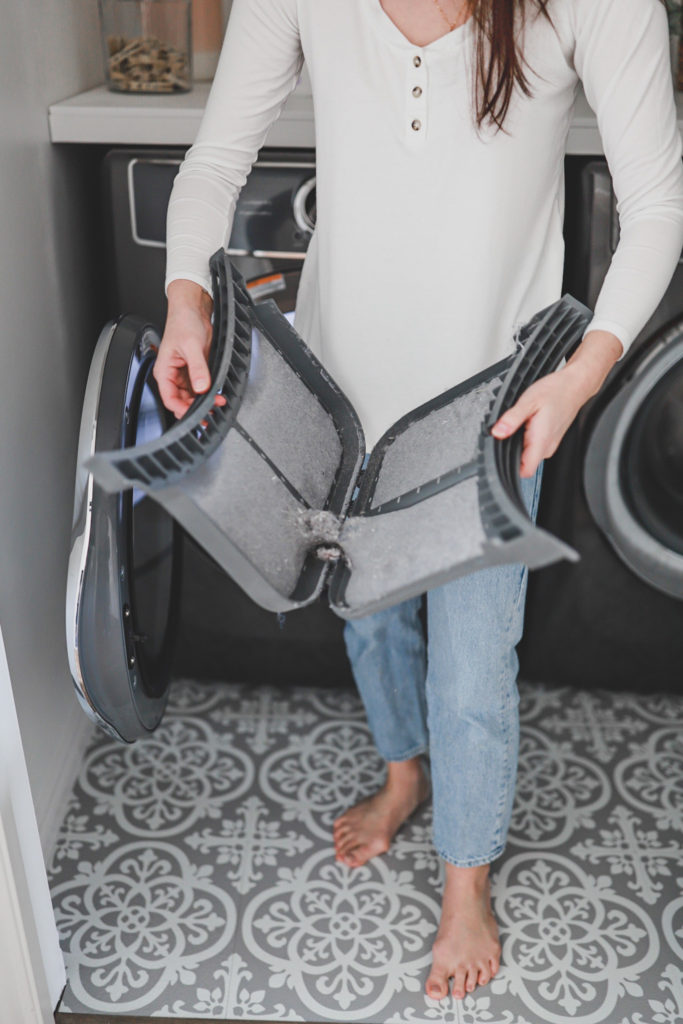
  • The folding lint trap that captures all the lint in an easy to pull out and open compartment.  
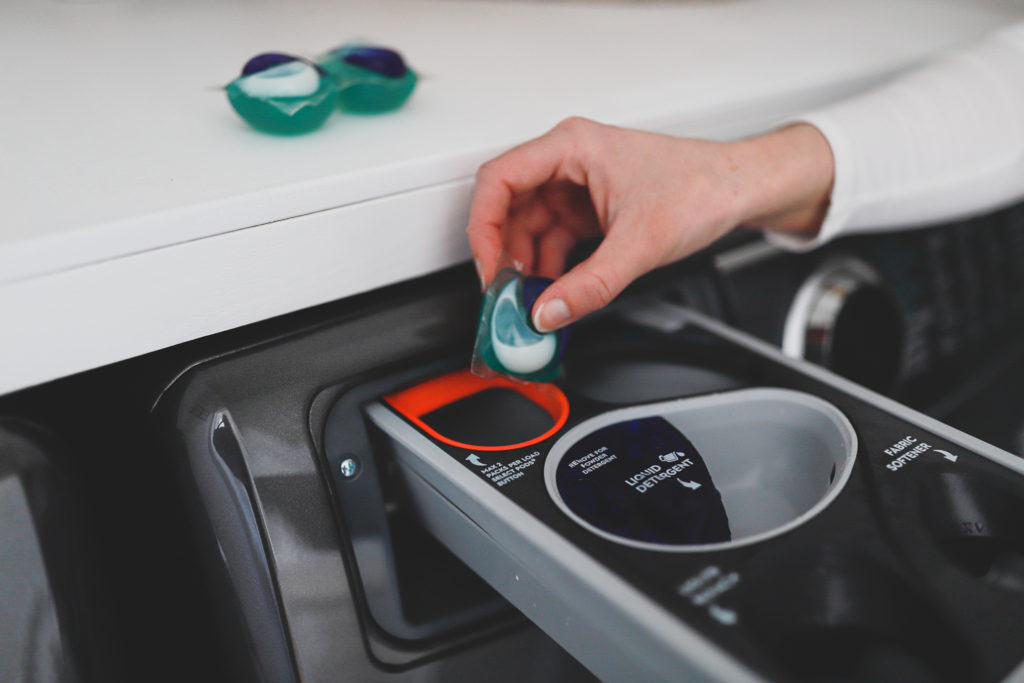
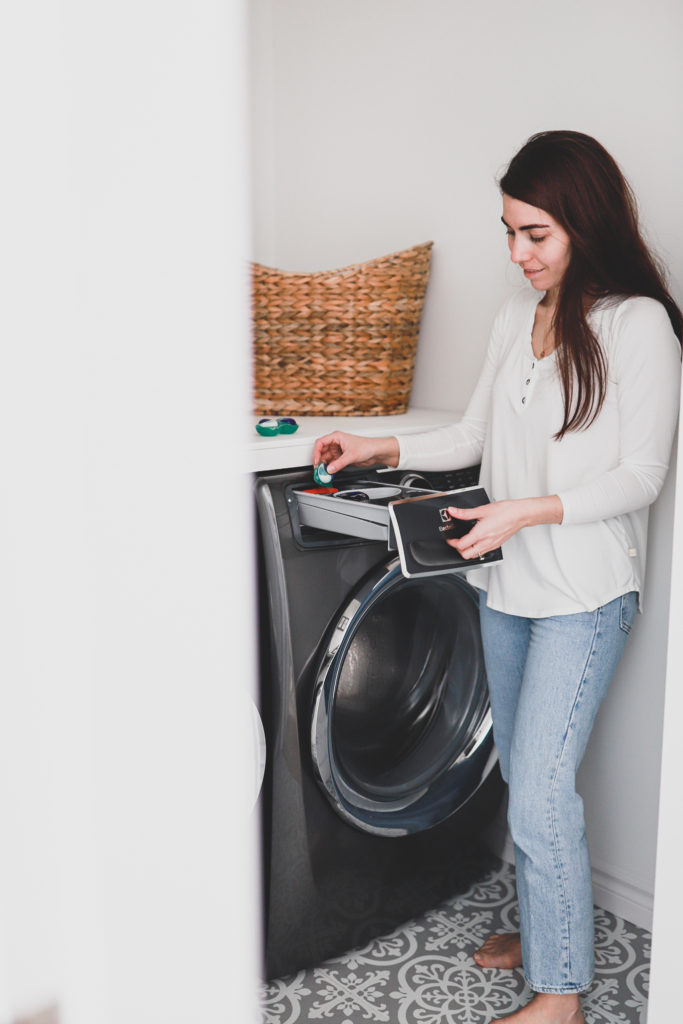
  • PODS. This set has a pod button feature that helps properly release the action-packed detergent pod to help clean your clothes better. Getting the full effect of what pods really do! 
  • Less is more when it comes to detergent and these babies don’t need a ton of laundry detergent to really get the job done.  
  • The doors are switchable. It’s the only set that has the feature of moving the doors to position properly in your laundry room. Drew did have to switch ours around and he did it super quick! 
  • 15 minute wash!! I love this. Most of the time when it comes to my clothes, they don’t get that dirty or if I’m in a rush. This 15 minute wash feature is so convenient! 
  • Eco Friendly! 

This project was another really fun one for us. I’m pretty proud that even though this room is little it makes for a great transformation. Giving some function and folding makes our lives a little easier and brings beauty to a laundry room where most of the time it gets neglected. It’s a laundry room so yah, maybe it’s not the funnest room in the home but bringing the fun into the room makes it even more enjoyable getting laundry done right! 

Be sure to take advantage of Home Hardware’s Paint and Renovation Sale on now until March 11. Pop in and be sure to ask any questions you might have. They are always helpful and willing to chat! 

Before Laundry Room

After Laundry Room

Home Hardware 

Website | Instagram | Facebook | Pinterest | Twitter   

GP Furniture  

Website | Instagram | Facebook | Pinterest | Twitter 

{Disclosure this post was sponsored post as part of an collaboration program, however all opinions are my own}

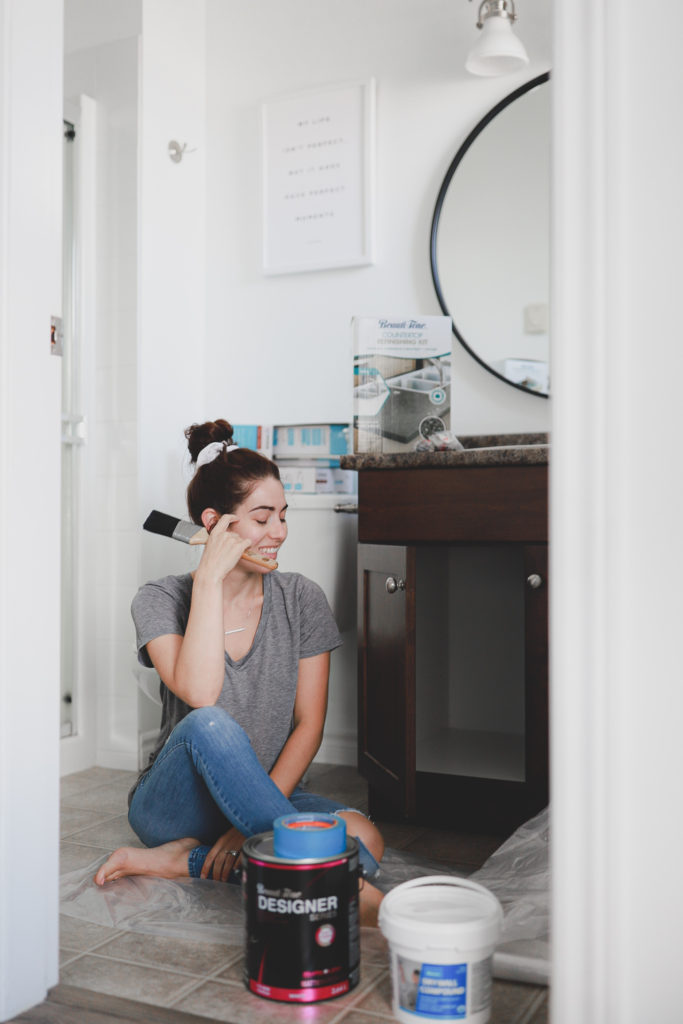
Painting Your Current Vanity & Ways To Help Freshen Your Bathroom | Home Hardware Kitchen & Bath Sale

I think it’s a safe bet that there’s at least one of us out there that’s eyeing up our home and dreaming all the big things for these rooms. But in order to do some of these things it takes money and a lot of work to do them. I’m here to tell you that sometimes little changes can make a big difference. All you need is some really awesome Beauti-Tone paint from Home Hardware and some small fixtures to freshen up any room in your home.  

Read the Post

Latest From Instagram

Copyright © 2025 · Theme by 17th Avenue

Copyright © 2025 · Amelia on Genesis Framework · WordPress · Log in