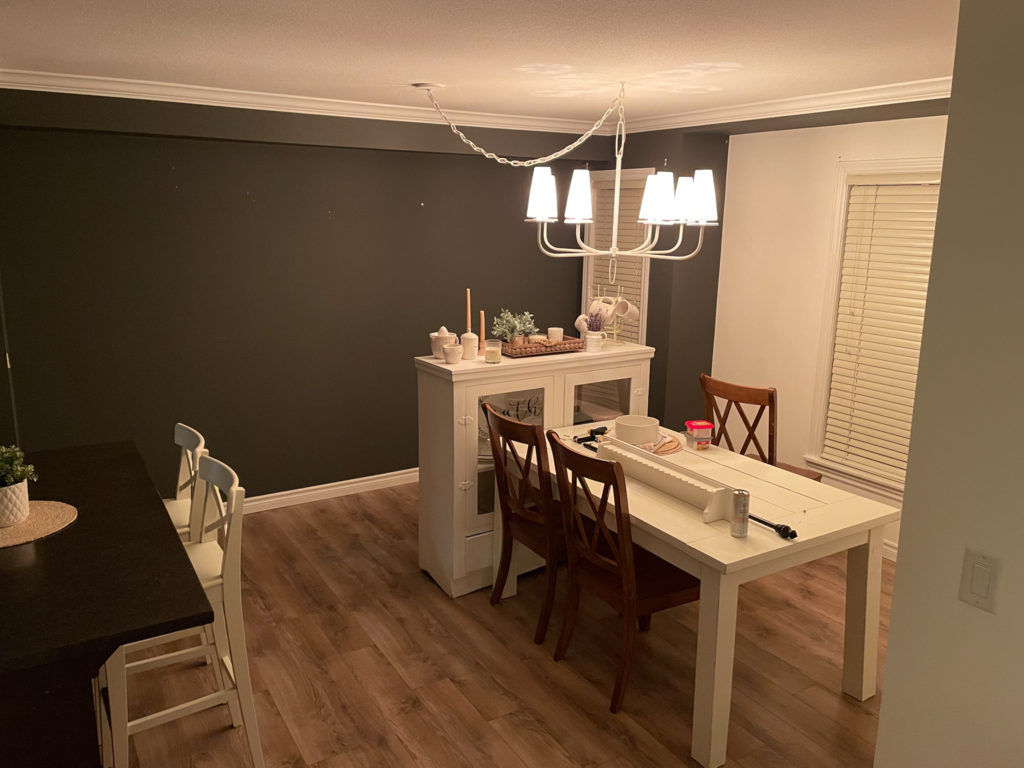
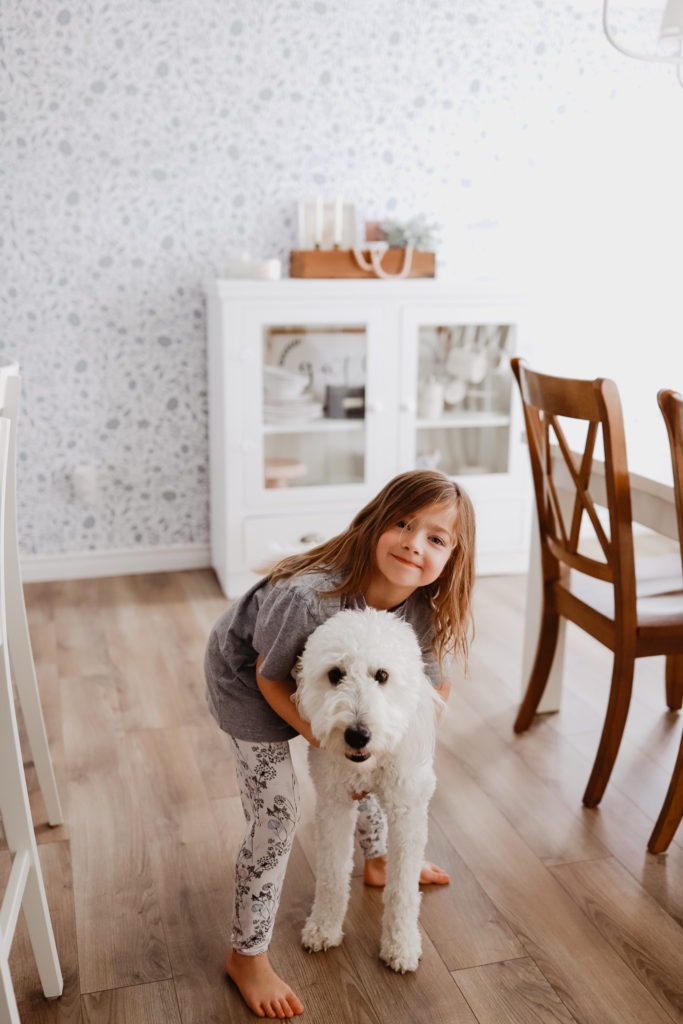
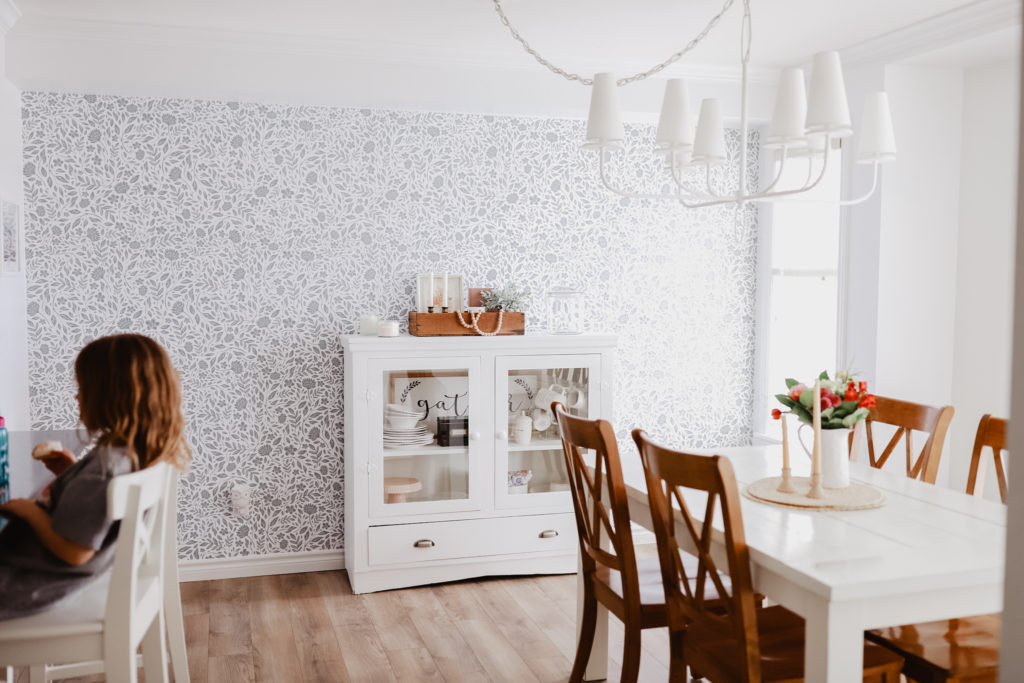
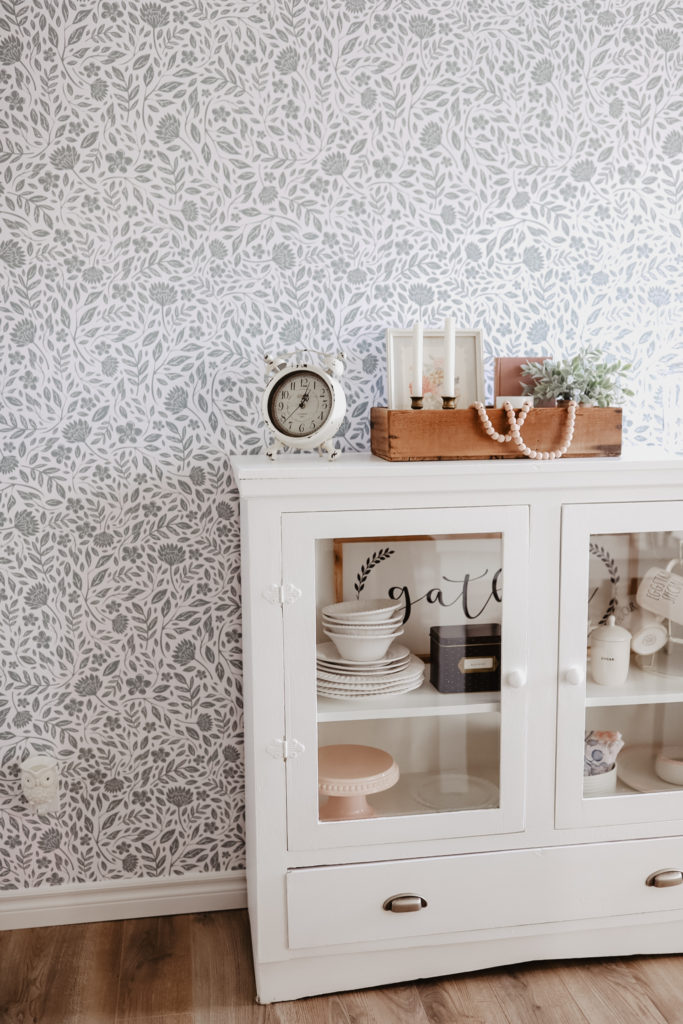
This is our dining room! I’m getting right into the before here. haha This wall has been sitting untouched since the day we moved into our townhome 6 years ago. I absolutely loved the colour butttt, there’s always a but. The previous owners had left the wall in some pretty bad shape. Holes were surrounding this entire wall and I’m talking small holes and massive holes. Ones that could easily been seen when standing in the room. So it totally looked off. Not to mention that this room basically sat like a cave. Dark and gloomy. It really needed a refresher and some new colour as sad as I was to say good-bye to this deep blue. It had to go! We needed something brighter and fun.
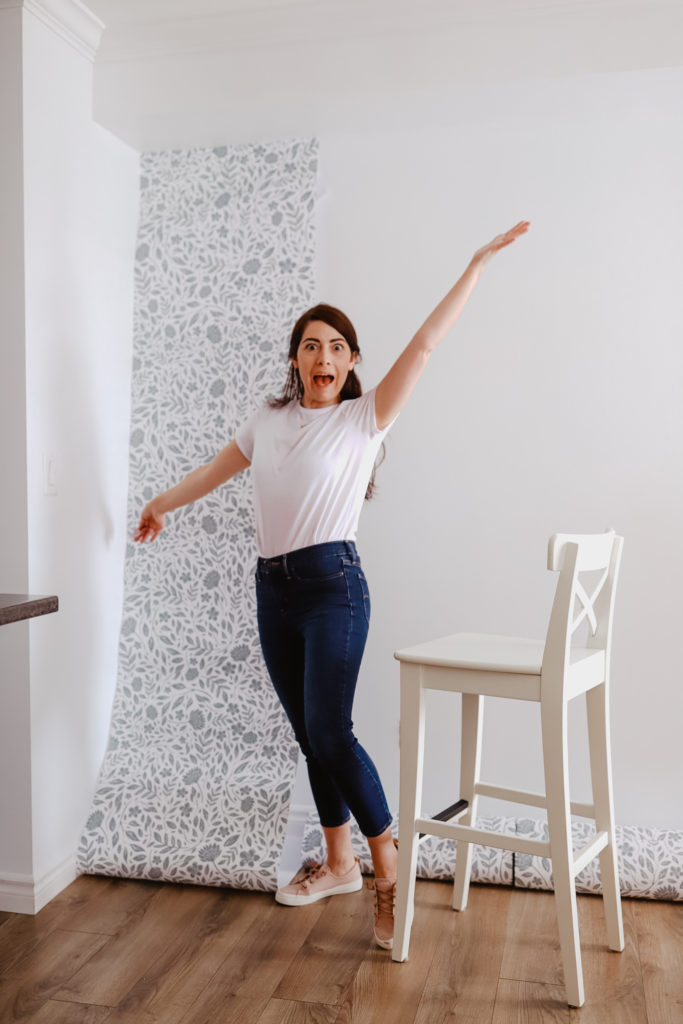
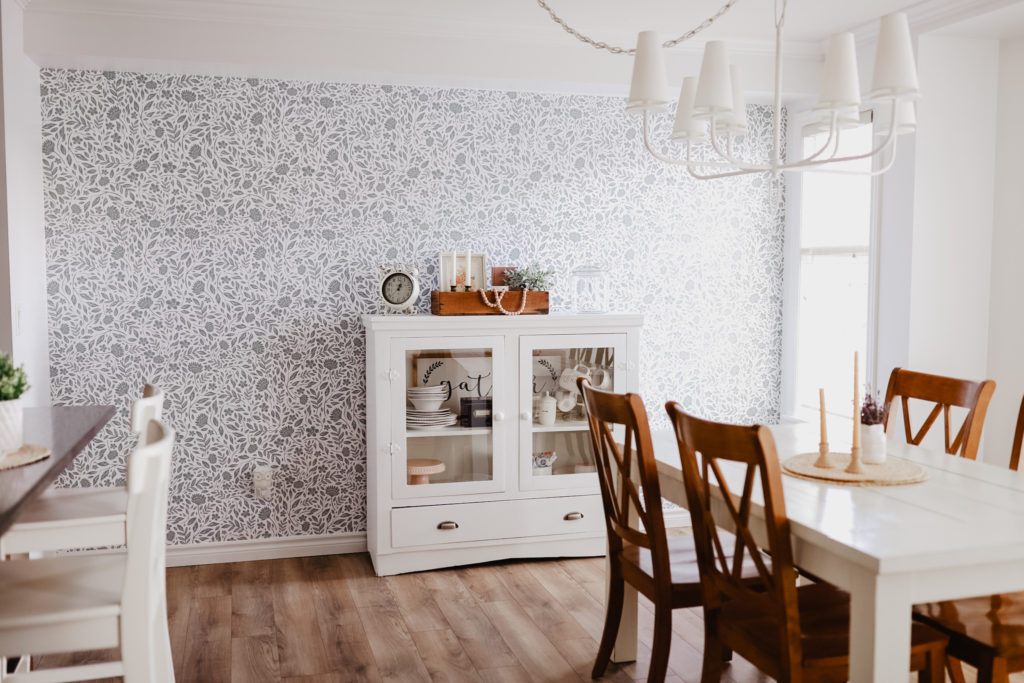
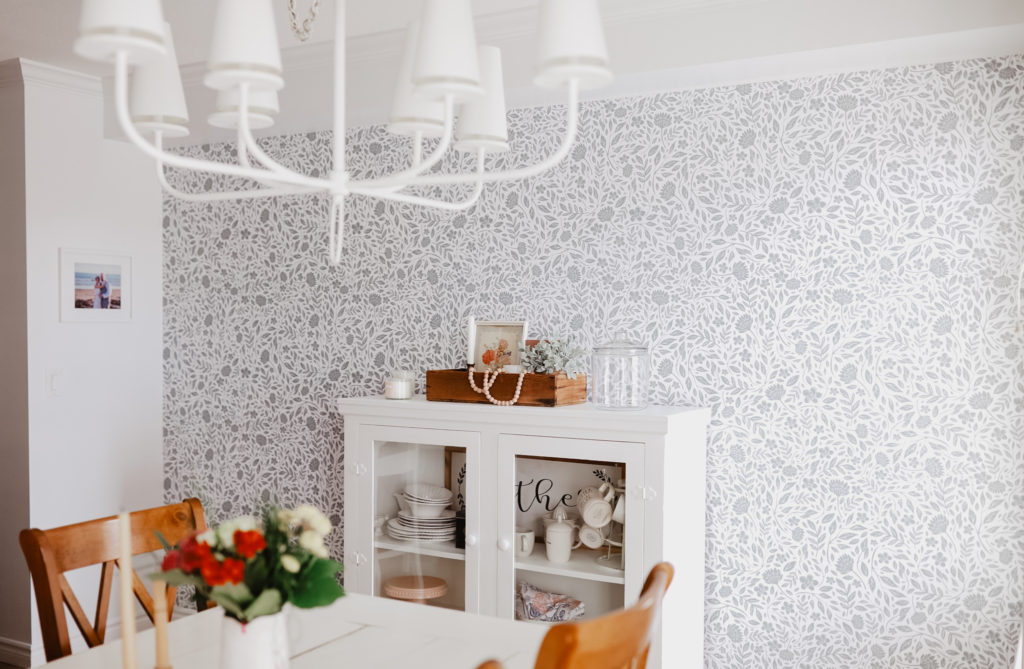
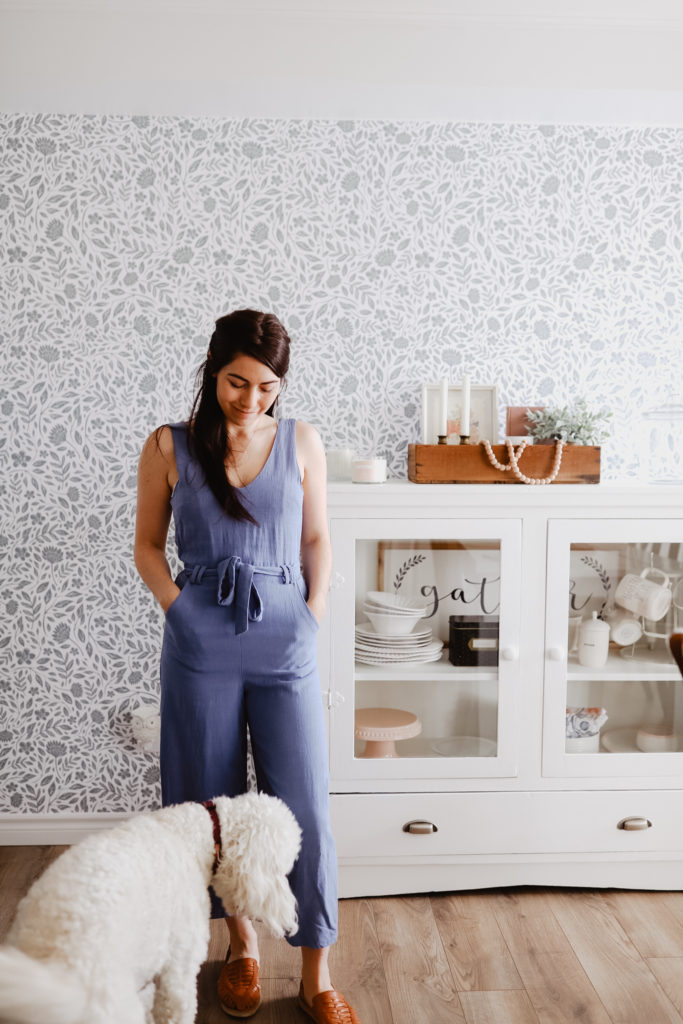
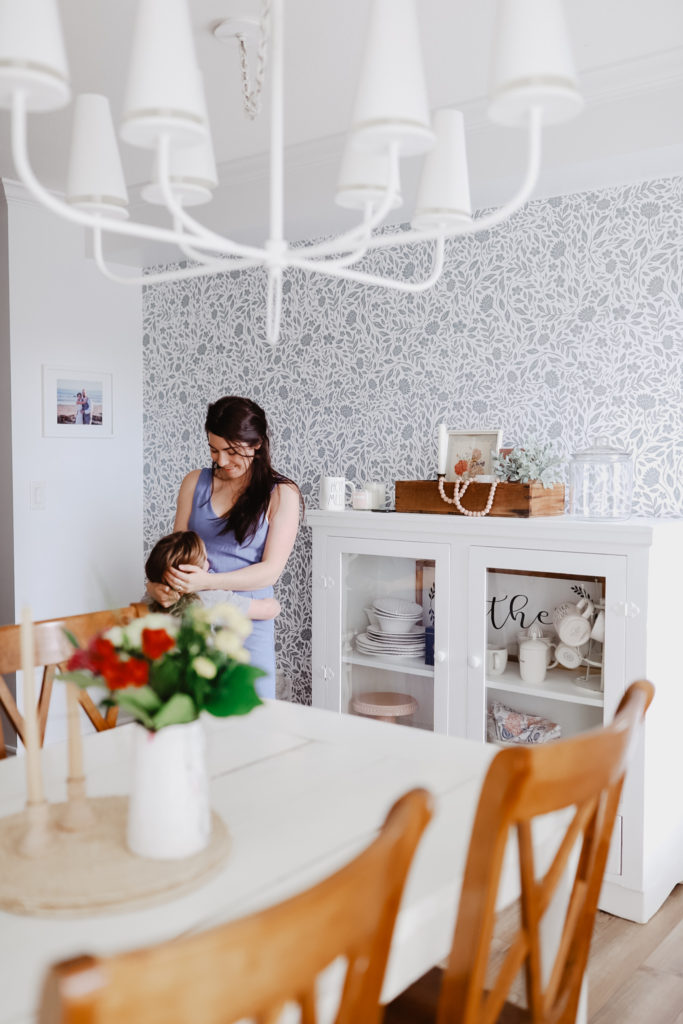
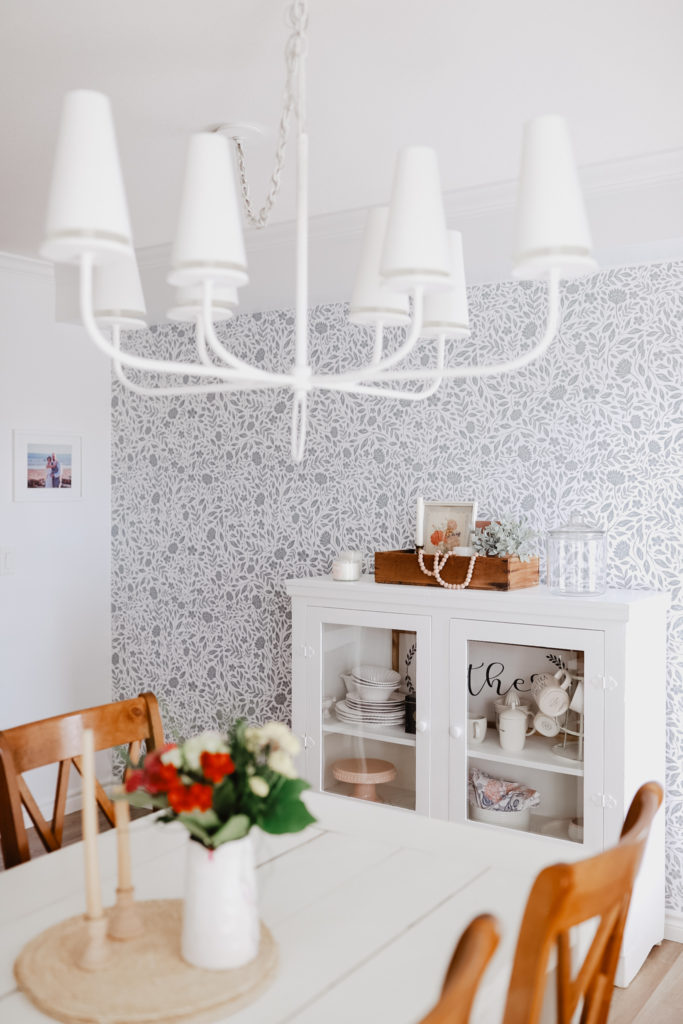
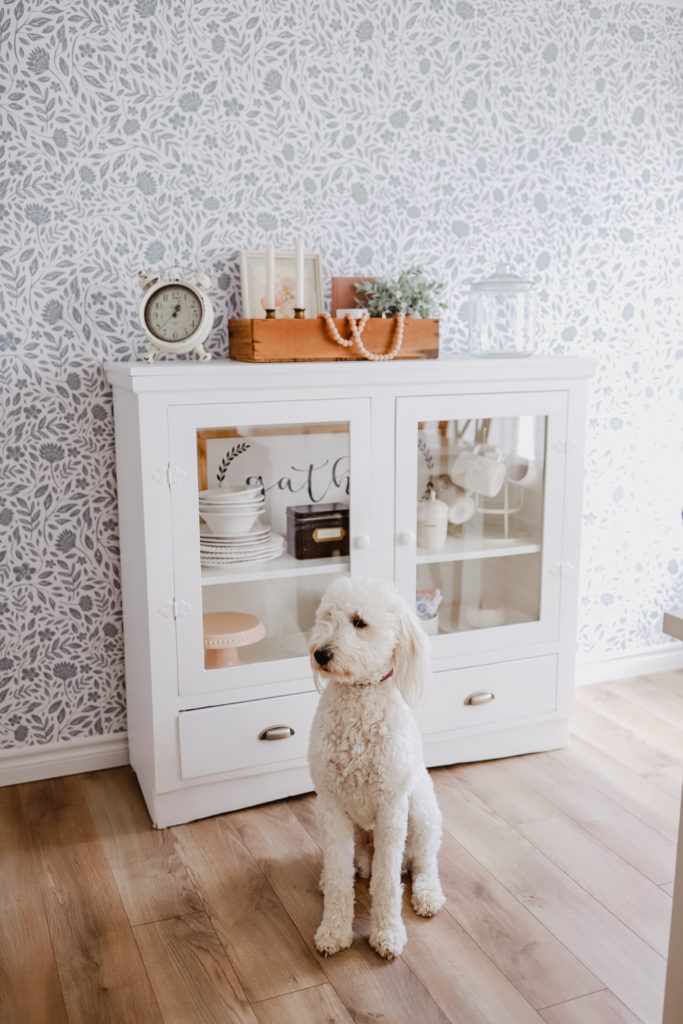
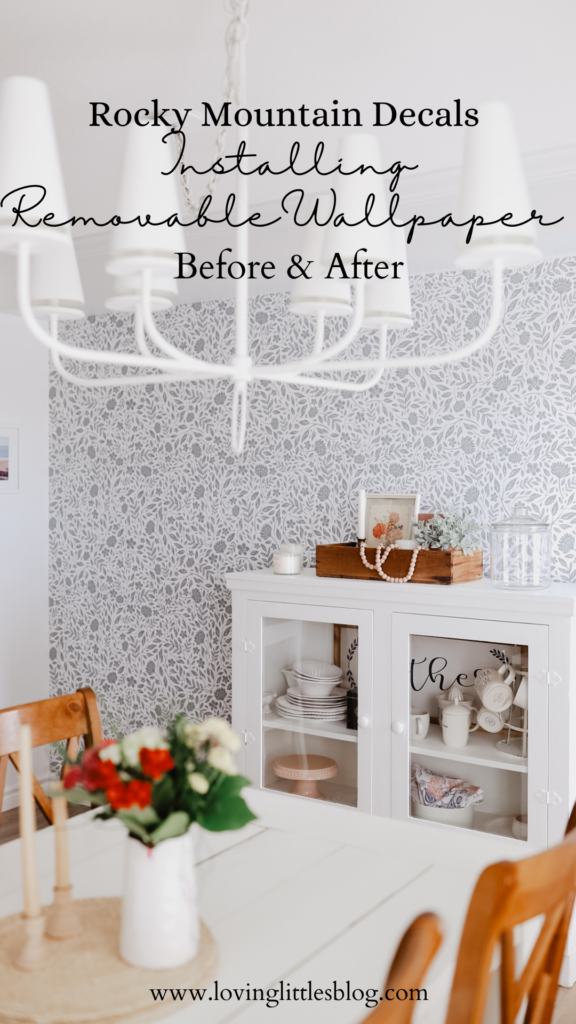
We turned to Rocky Mountain Decals and planned out this massive feature wall with a perfect design wallpaper from their Boho Collection called Bloom in the colour Dove. It is such high quality wallpaper wall fabric that’s removable and reusable. It’s insane. They have a HUGE line of wallpaper and decals ranging from all styles. Peel & stick wallpaper is always a favourite for me because it’s such an easy & cheap way to bring personality to any room and the fact that you can take it down is so nice. Let me tell you wallpaper gets me so intimidated and Drew. There is just odd thing about it. But I’ve done it before so I knew that it would be okay and it would work out. Once I had an idea in mind on how I wanted to design it. I ordered and waited.
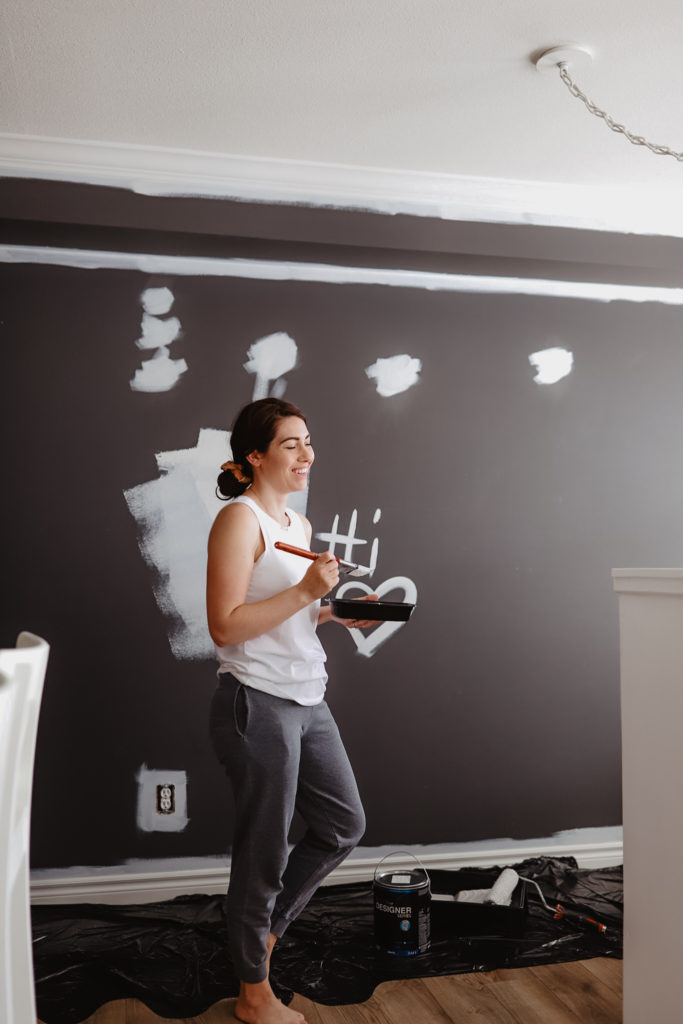
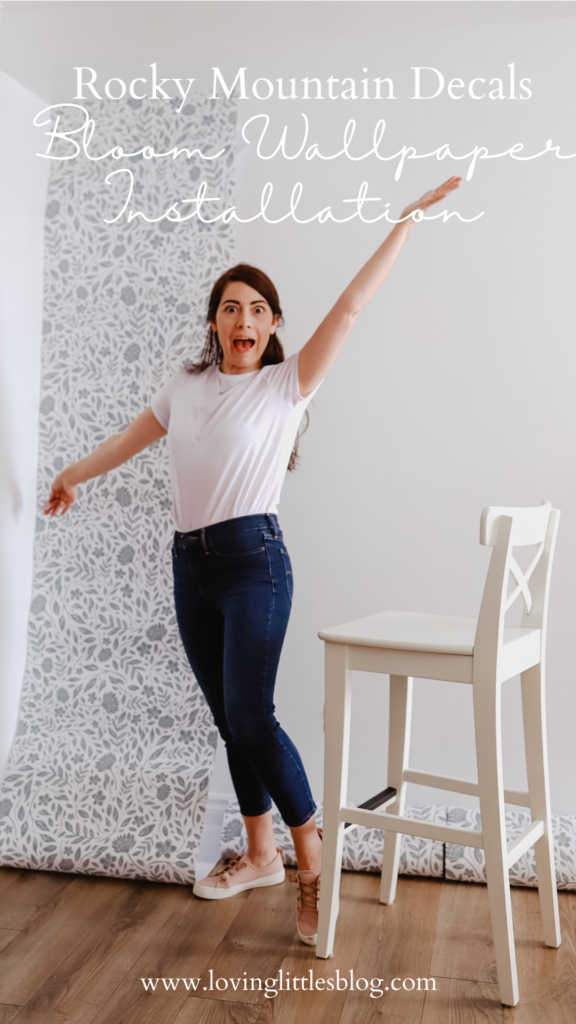
It came in one perfect roll. Beautiful grey and white with a classic design fit for a dining room or really any room to be honest. I made sure I prepped my wall first. So with that I cleaned it down, everything from the ceilings to the blinds. I filled the many gapping holes, sanded them down and made sure the wall was clean and dry. I started to paint with Home Hardware Beauti-Tone “Snow Angels”. Its a great creamy white with just a touch of colour. Side note; You may want to wait 30 days prior to applying the wallpaper to make sure the paint has had time to cure.
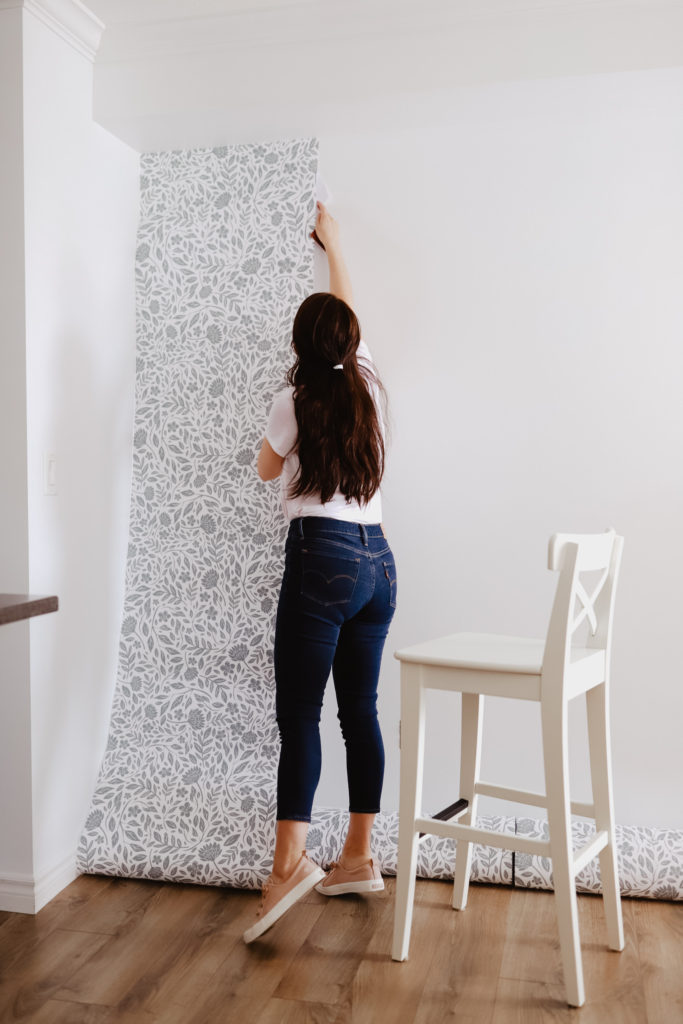
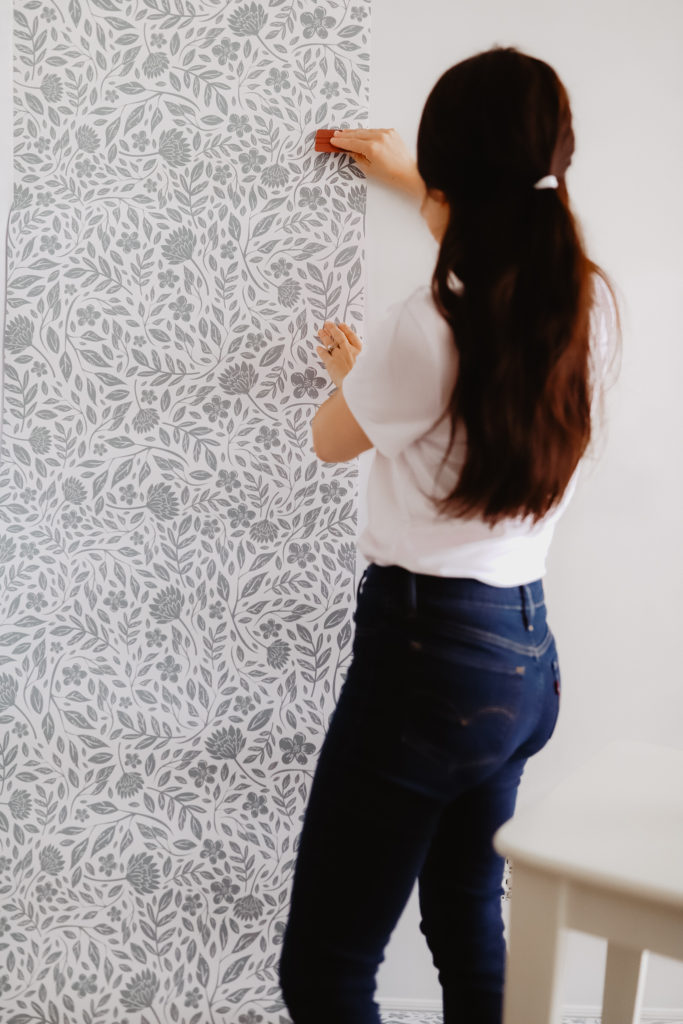
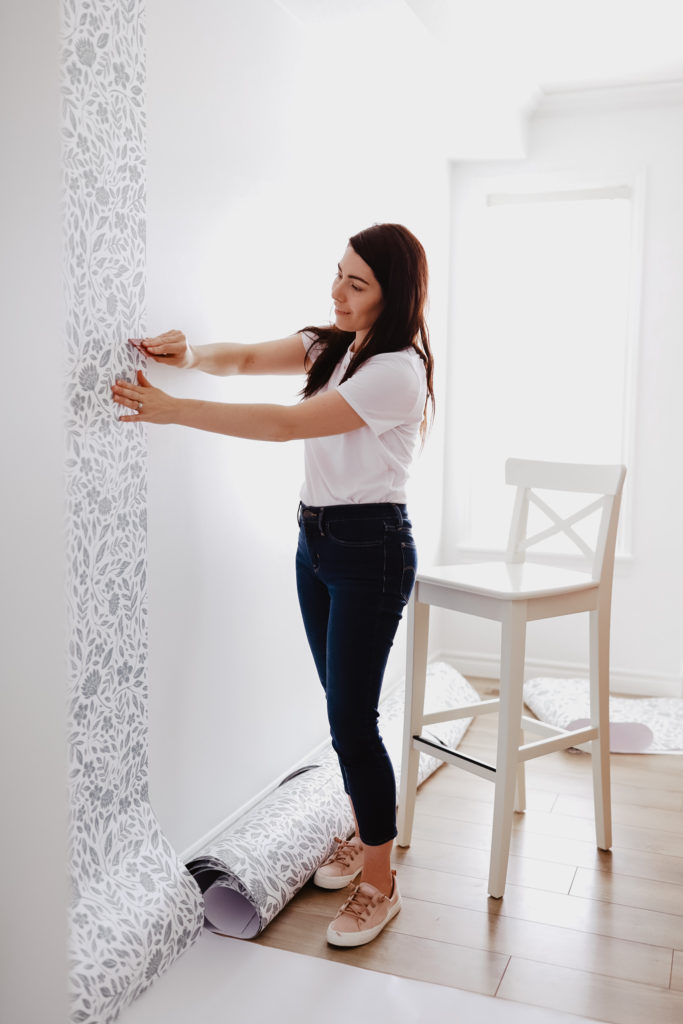
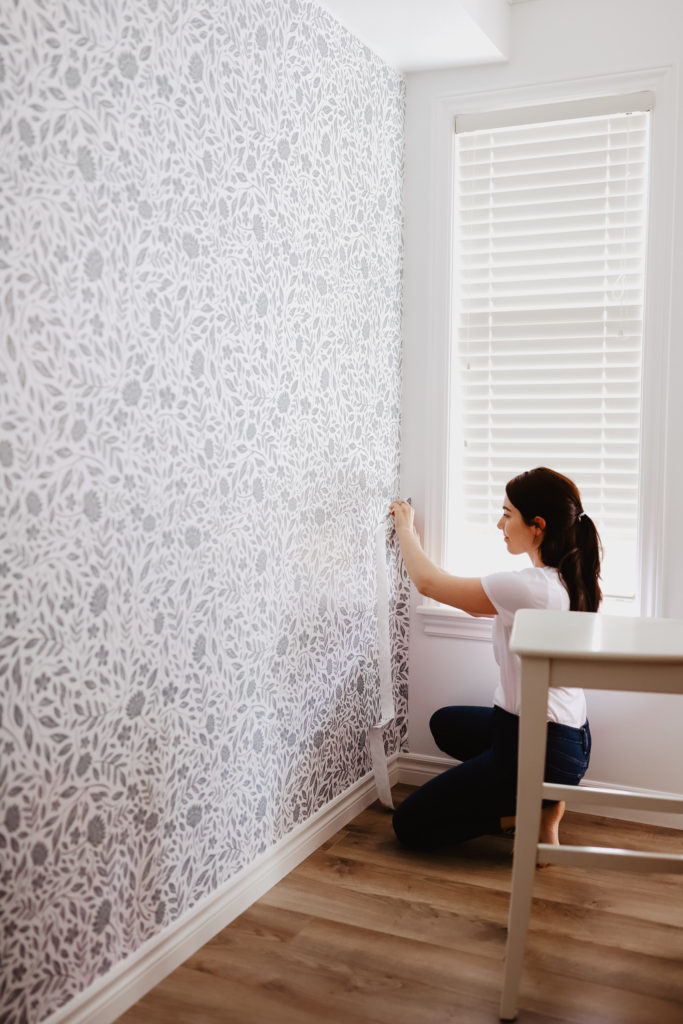
Each sheet is numbered in order. Starting from left to right and with #1 first I applied each sheet. Making sure it was level with the wall and ceiling. Each sheet that is numbered is already perfectly aligned with the design so there is zero guessing or measuring out. There is also a total “mess up okay zone” when it comes to applying removable wallpaper. If you do somehow mess up it’s so easy to backtrack and fix your mistake without damaging the wall.
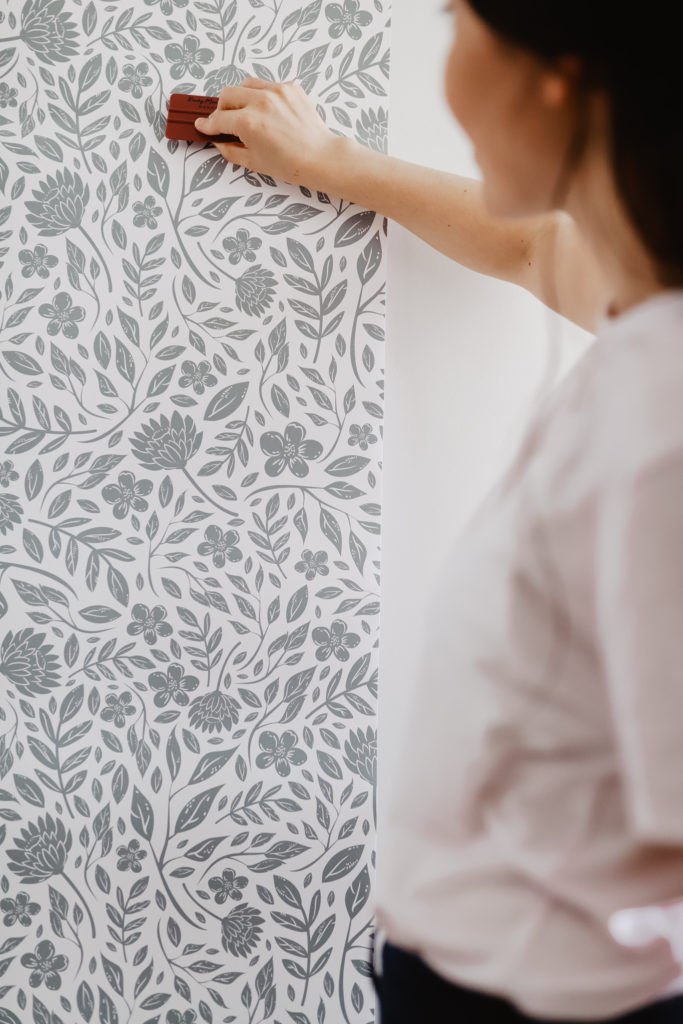
Using the trustee tool that cools with your Rocky Mountain Decals you can slide it down the applied wallpaper to get rid of any bubbles. I also wait and extra 24 hours after it’s applied to the wall and go over it once more to really make sure those air bubbles are gone.
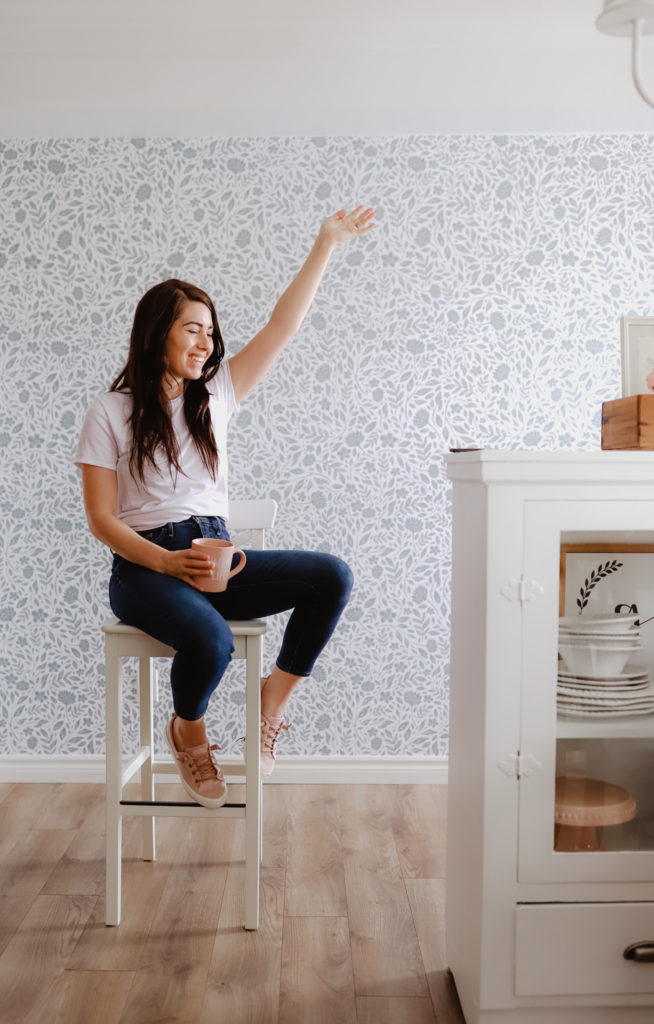
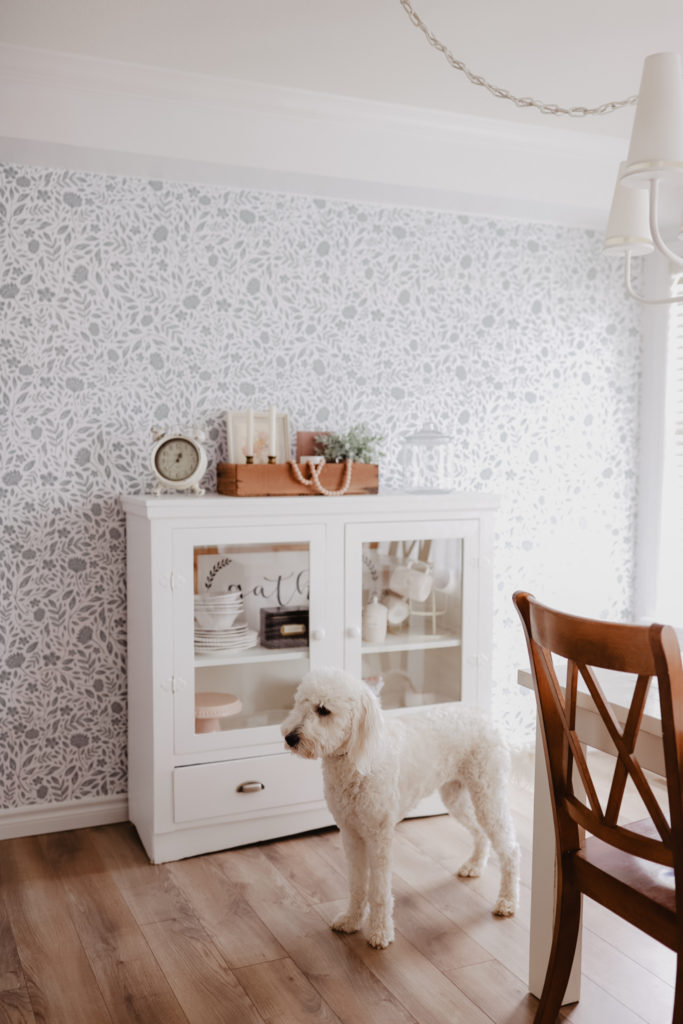
I’m so pleased with how this wall and space turned out and it is completely night and day. From a dark room to a bright and airy one.
A few Removable Wallpaper Tips when Installing …
+ Make sure the surface is clean and dry.
+ Patch up those holes, make sure any raised spots are sanded down
+ Rocky Mountain Decal Wallpaper is numbered so organize it out left to right starting with sheet #1
+ The wallpaper is already numbered to align up to, so super easy
+ Level up with the edges of the wall, using the tool press it to the wall
Side Tip: If you mess up, it’s okayyyyy. You can totally lift it up until you get it right and no need to worry about damaging the wall. Don’t be nervous to just try it out and get creative!
