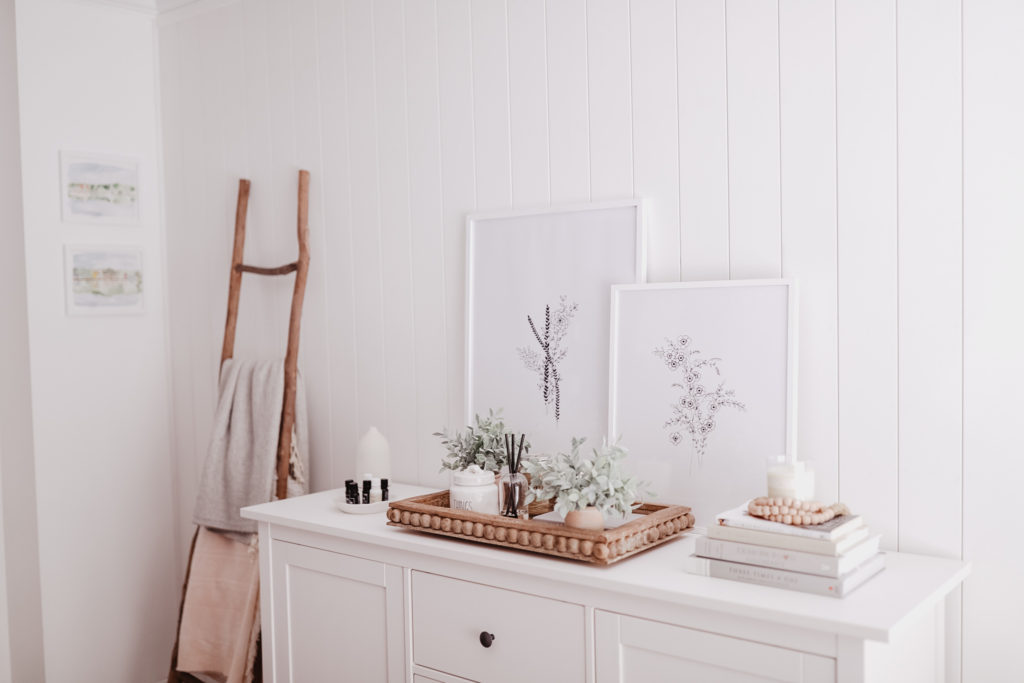
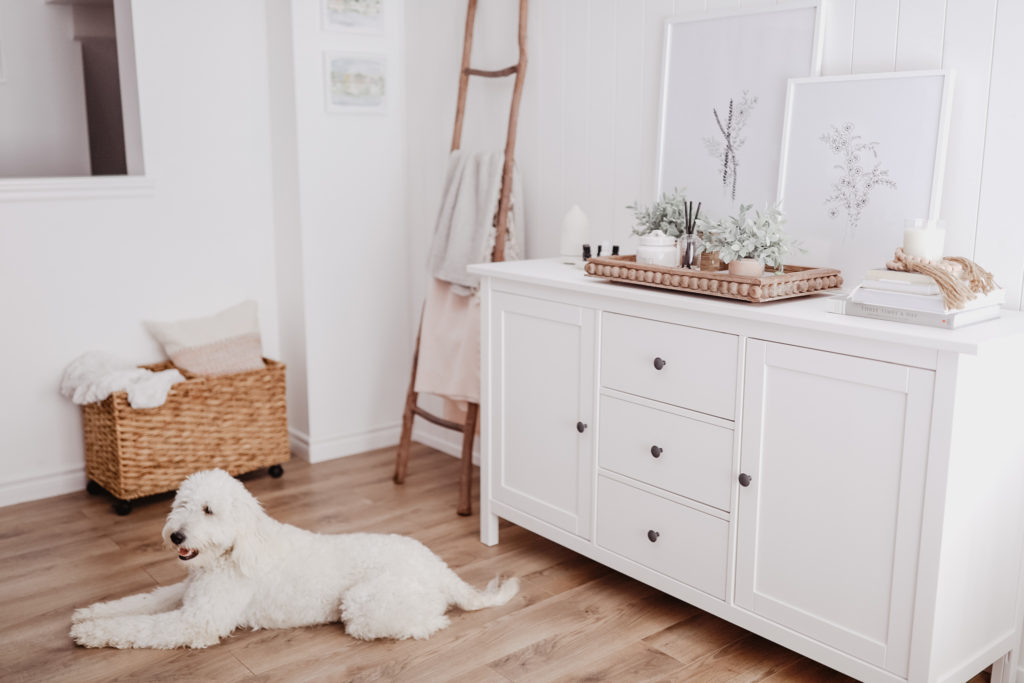
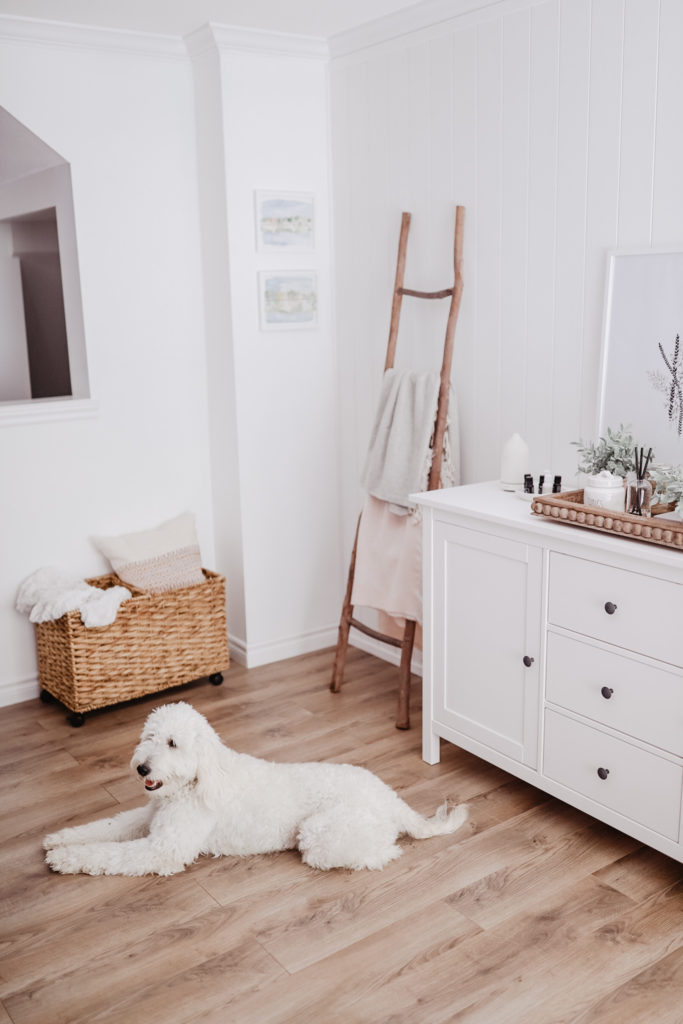
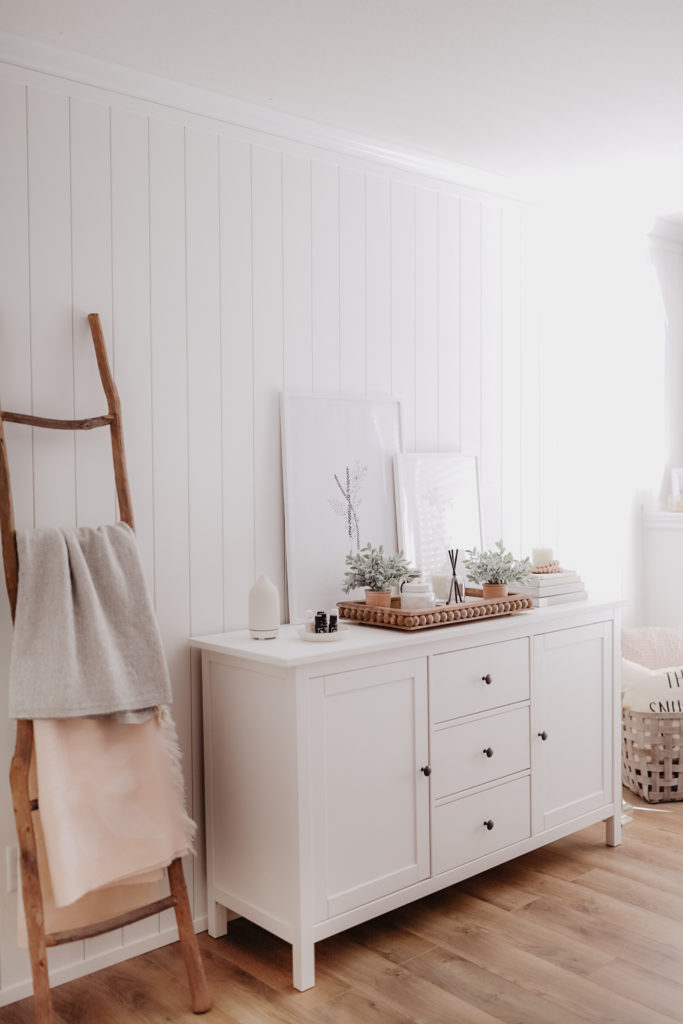
A little bit about the space…
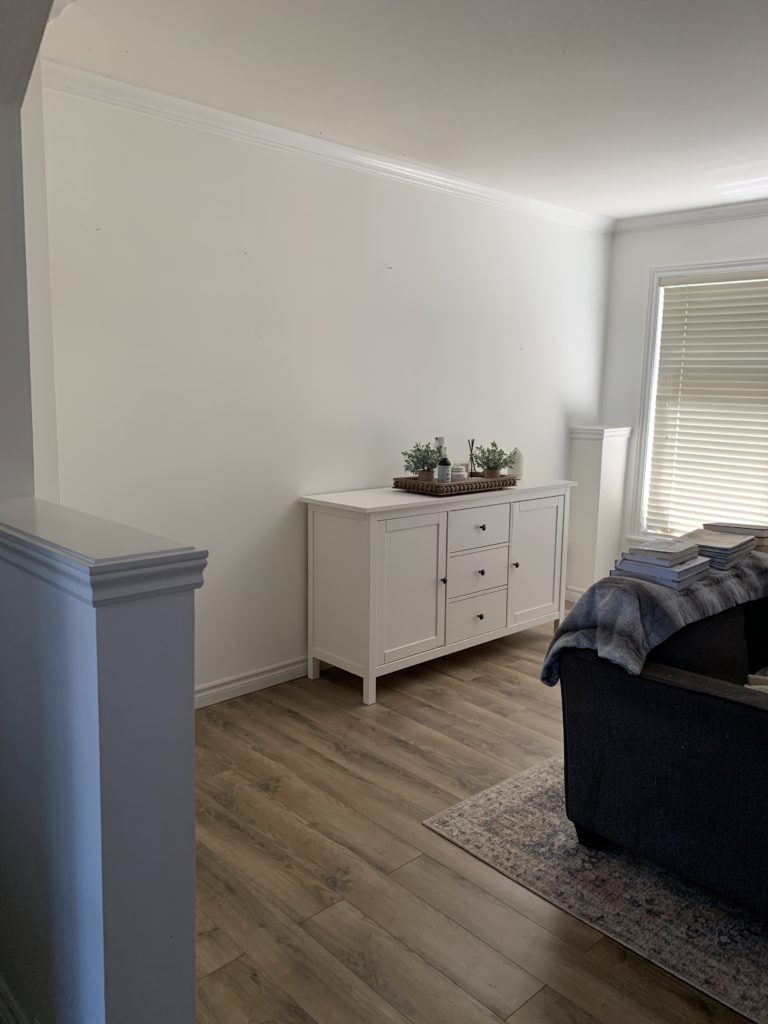
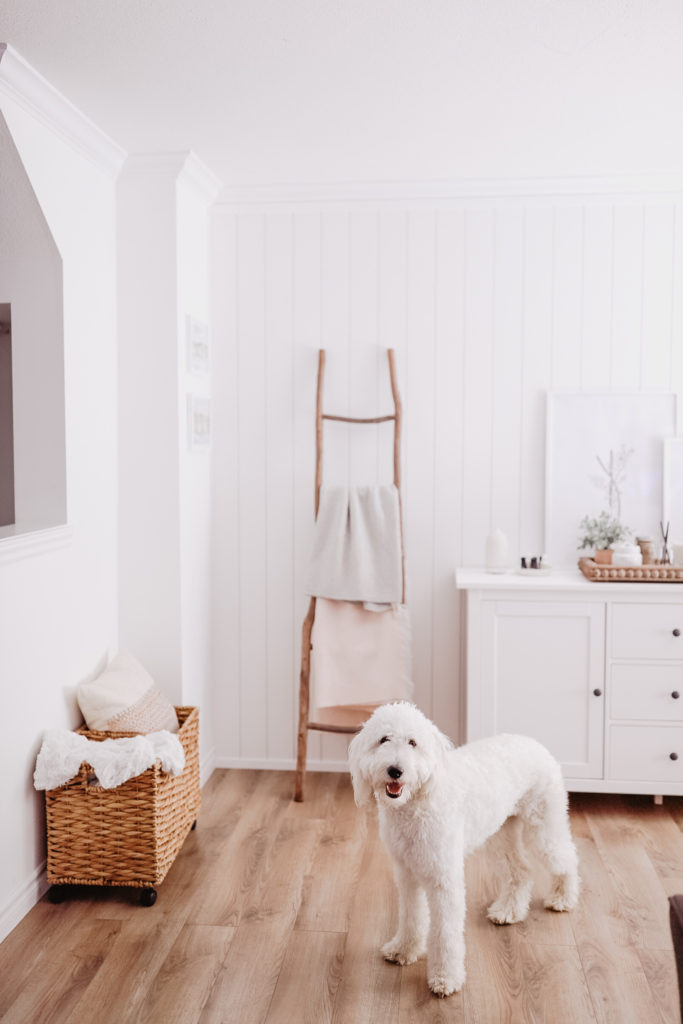
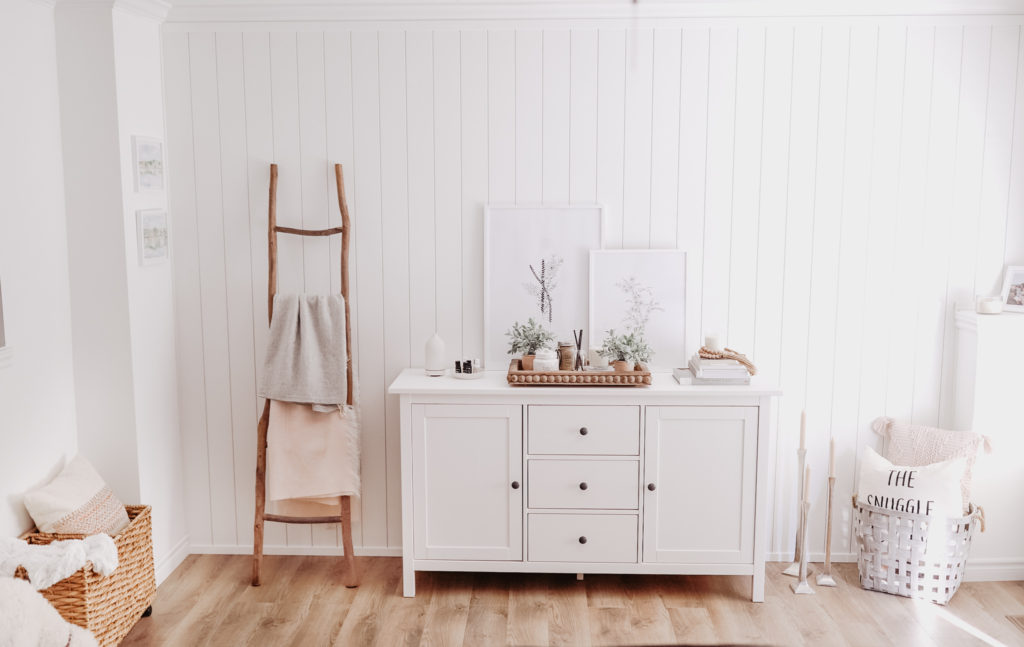
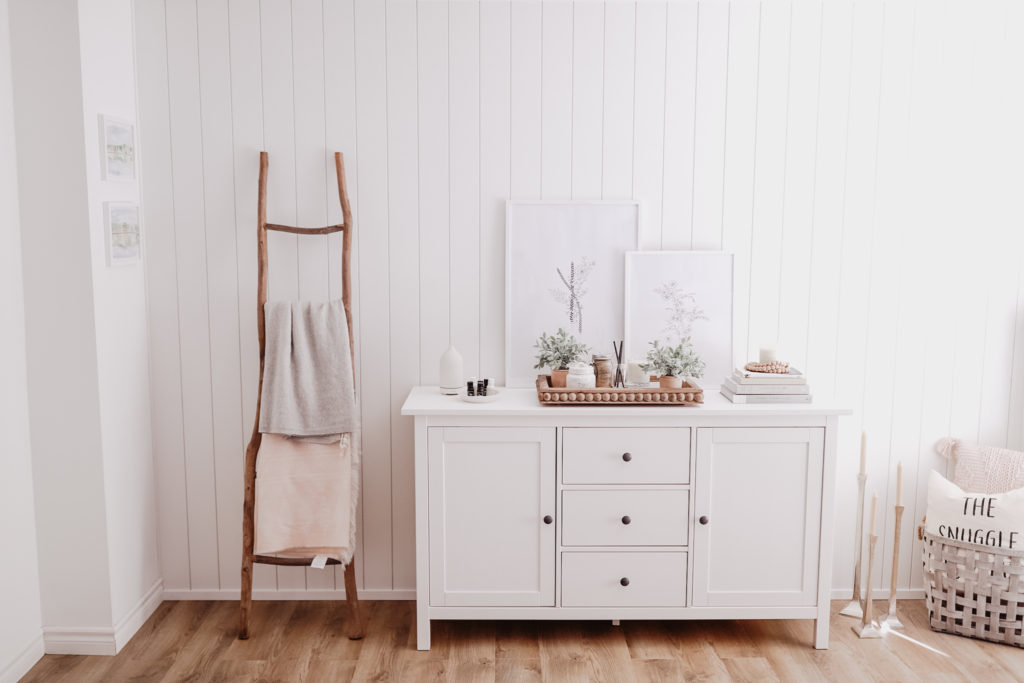
This is our giant living room wall. Since the day we moved into our first home, this wall has always had me thinking… “feature wall”. It’s long, lacks character, and is a difficult wall to turn into a gallery wall because it’s just so big. We kind of just kept it blank, pondering over what to do…
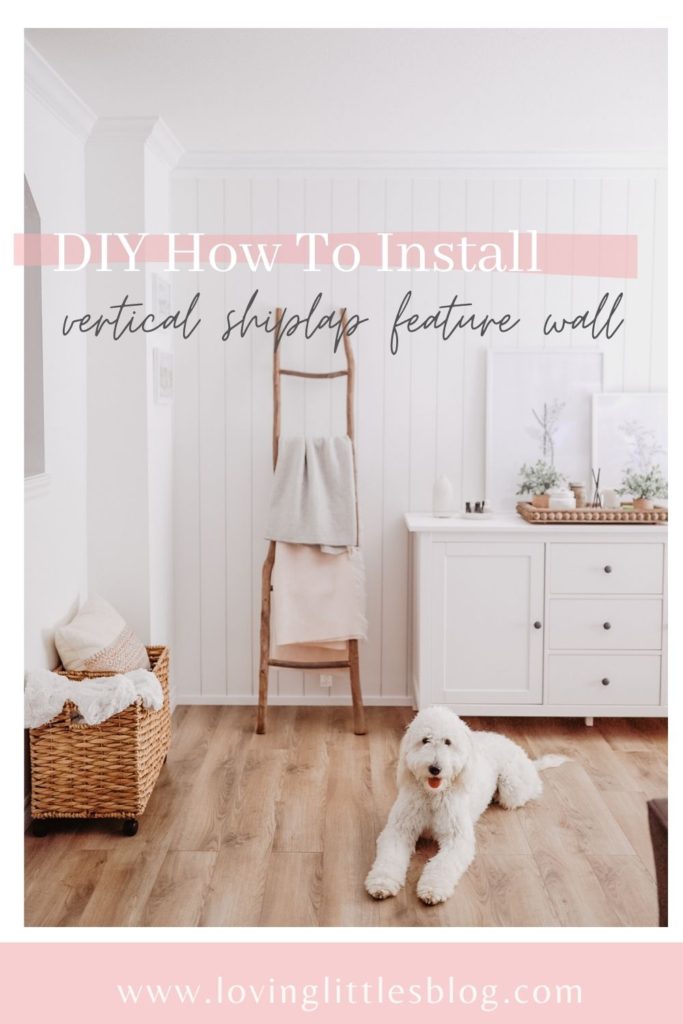
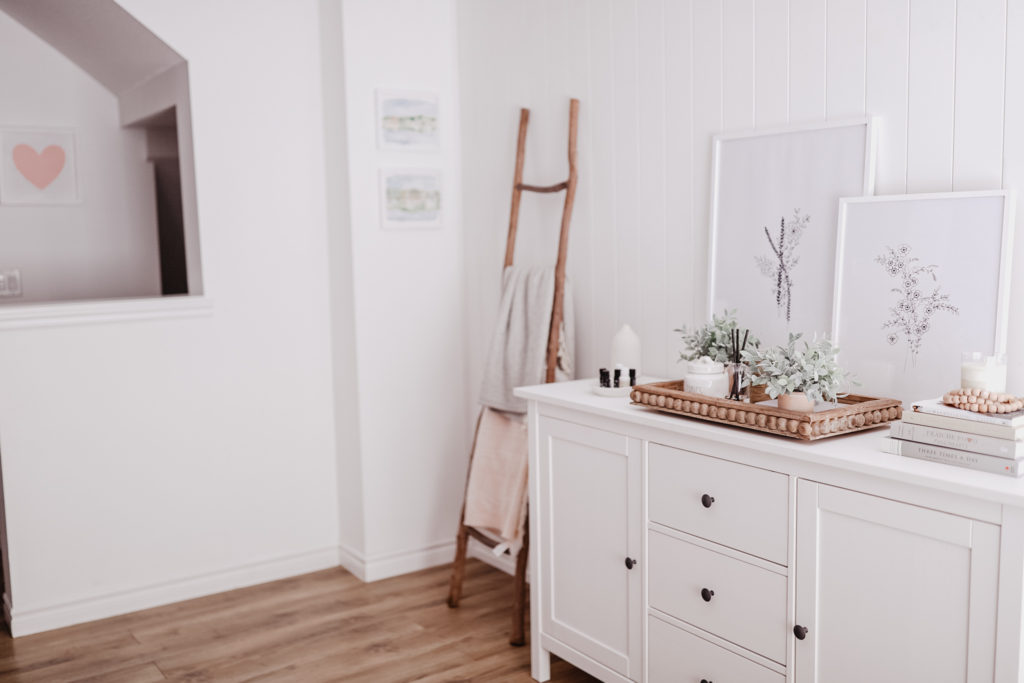
Until now of course! Drummm roollllll…. We created a shiplap wall! This idea was a seed that had been planted in the back of my mind about 4 years ago, and finally, it happened. We are very excited to share how we went about and created it. It was our first time ever attempting a shiplap wall, and I think we did a pretty good job. Shiplap is just one of those magical things you can easily add to your home, transforming any wall, big or small. It adds so much charm.
Research…
Before we started anything, we did our research. Finding ideas on, of course, Pinterest, laying out the mood boards in our minds, and talking to together on how we envisioned the wall. Once we agreed on the idea of how it would look, we started to research materials and cost at Home Hardware while working on a budget.
For any shiplap wall we totally recommend researching before staring. Make sure you have a game plan for what will work for your home. Everyone likes to install shiplap a little differently as we found on our research journey. A little piece of advice, if your project comes across a few bumps in the road, don’t get discouraged. Make it fun and go back to the drawing board. For us, we found a really great way to make all of this happen at our local Home Hardware. They had everything we needed for the project, and it always makes it easier when you find a place that is a one stop shop for all your project needs.
Tools & Materials….
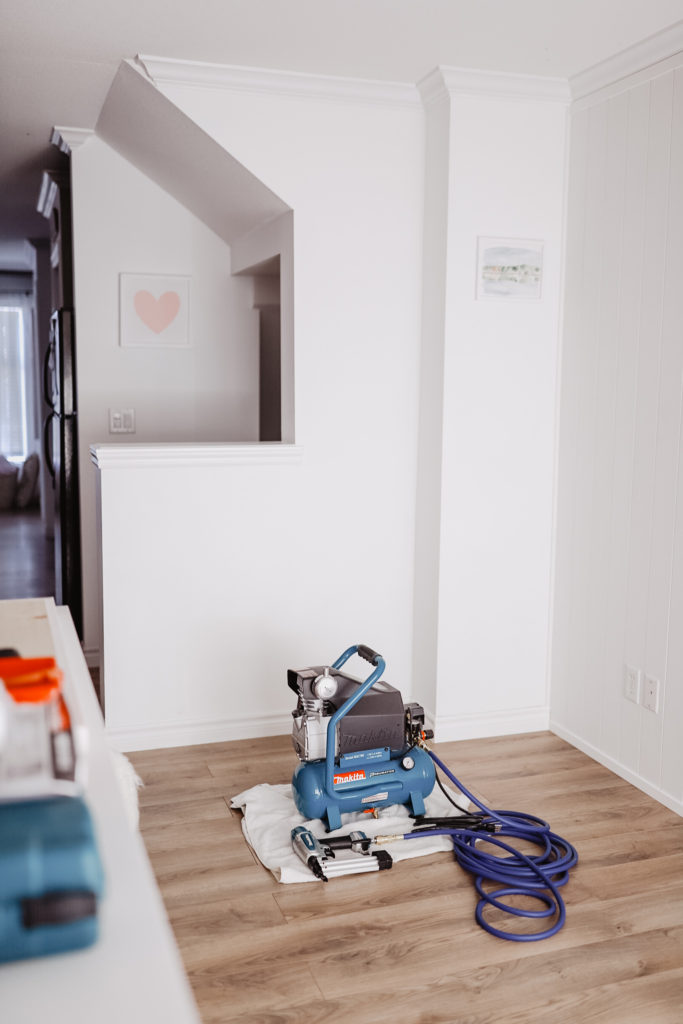
*Makita Compressor Nail Gun
*Spacers – a nickel could even work!
*MDF Metrie Boards
*Makita Saw
*Beauti-Tone Paint – Here Comes The Bride
*Caulking
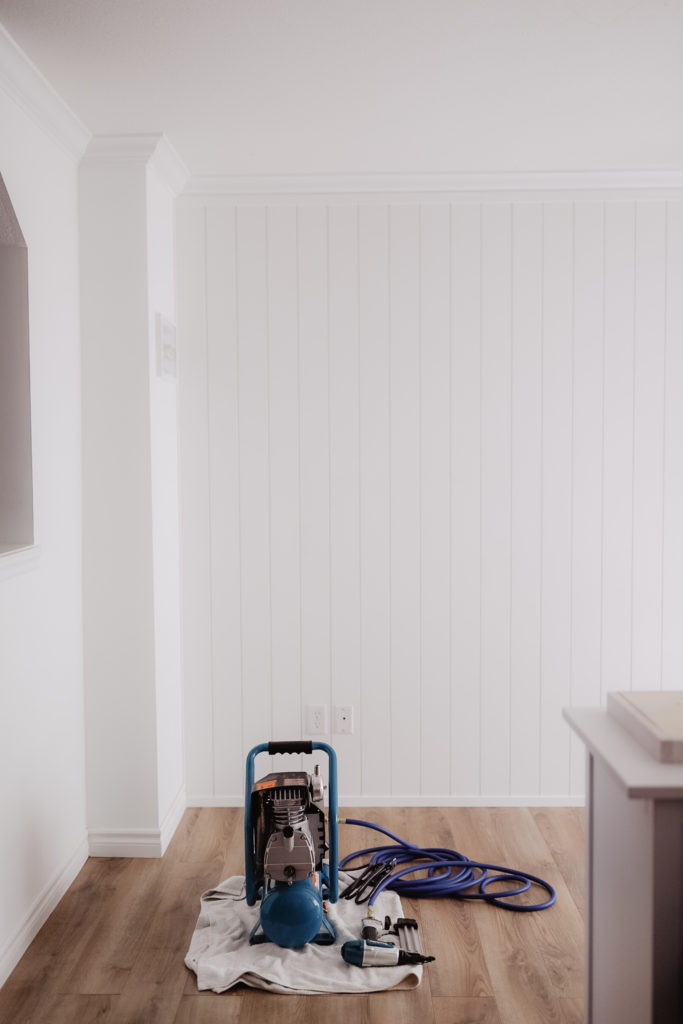
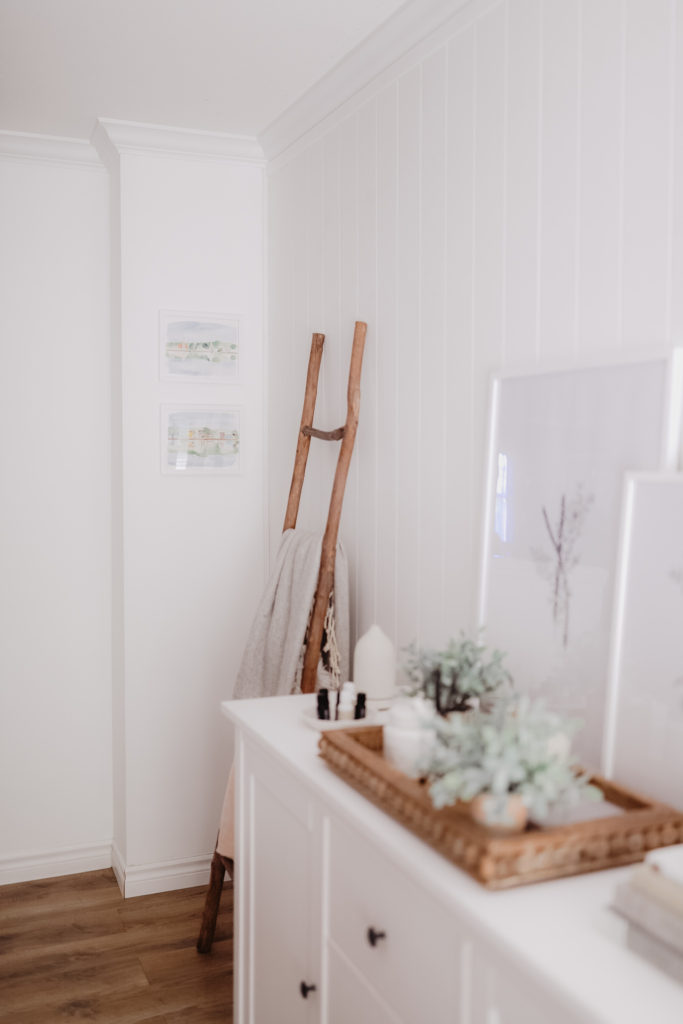
We found 1/2inch white primed Metrie Baseboards for our wall and used spacers (nickels) to lay out the sections while pre-nailing pieces up. You’ll see in the photo below the tiny black spots in between each board.
Wall Process | The How To…
- Work on a clean slate. Make sure the wall is washed down and rid of any dust wall bunnies. Making sure the wall is painted the same colour that you’ll be painting your shiplap is also another handy idea. This way you’re not having to paint the wall through cracks.
- Remove any baseboards and trim you might have.
- Pre-cut the boards to the length of the wall, depending on whether you decide to do yours vertically or horizontally. We pre-cut all our pieces and then laid them out and organized them.
- Once we had the correct number of boards we needed to cover the wall, we placed them up on the wall and added in our spacers to keep them from falling down. They stayed like this until we had the wall covered, measured properly, and positioned straight.
- Next part, nailing them in!
- Caulking and filling in over each nail hole.
- Next, we painted the primed shiplap with Beauti-Tone paint. We used the same white paint we use on all of our walls, “Here Comes The Bride”. Priming the boards makes a world of a difference, it was less work for us when painting to have it already primed.
- Once the paint was dry after sitting for 24 hours, we replaced all of our trim and the baseboards went back up.
- When all Drew’s hard work was finished, I got to work on my favourite part – decorating!!!
Voila….
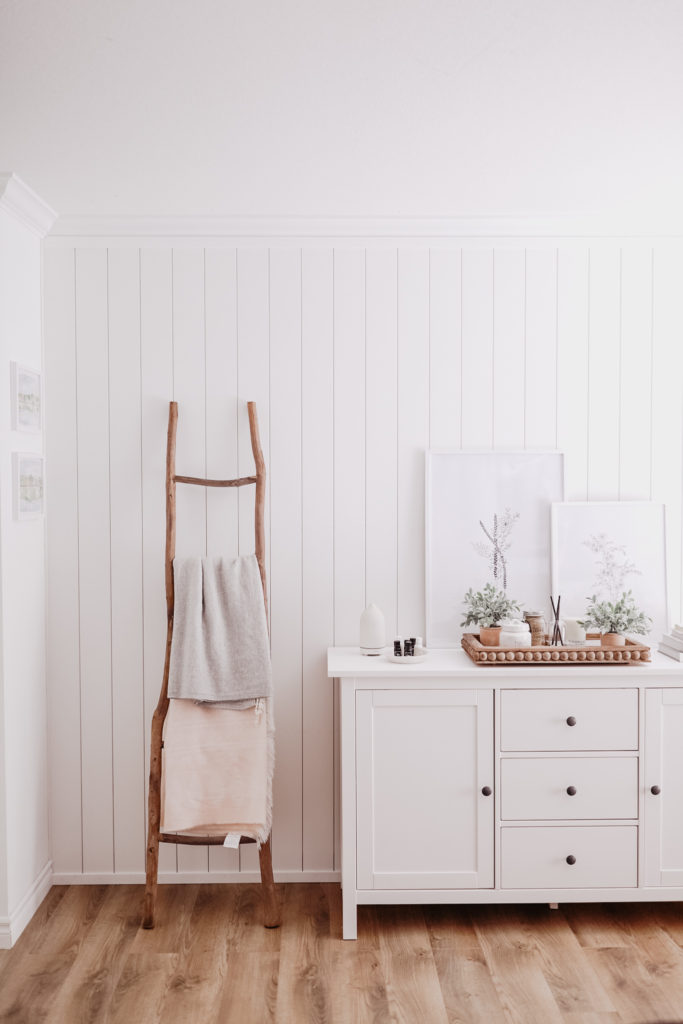
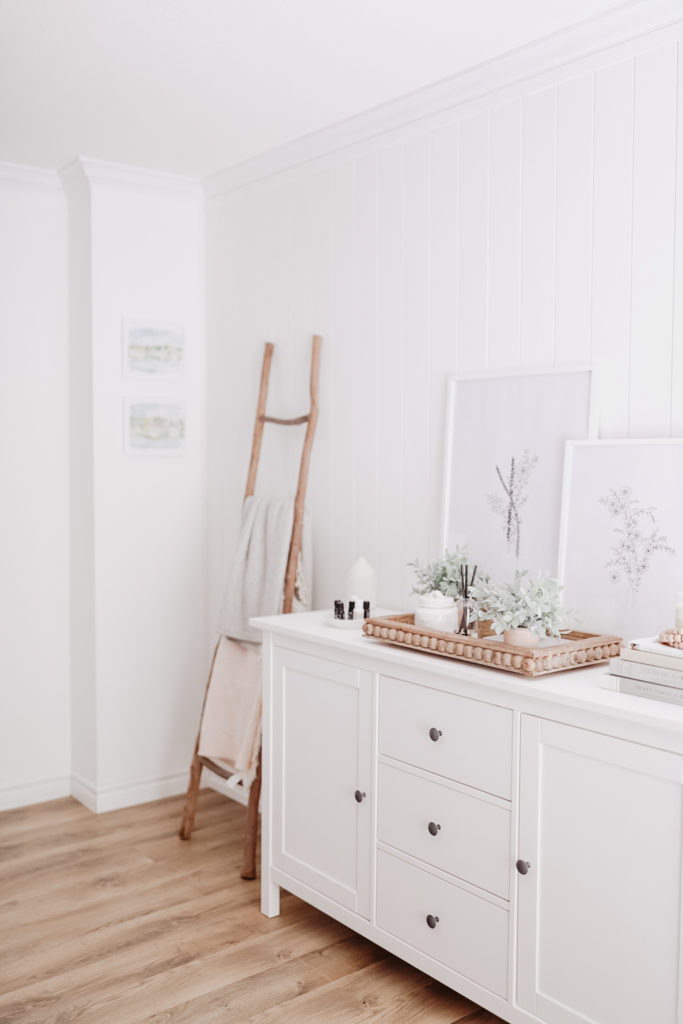
And done. I’m so happy with how it turned out. It was fun to find this idea and go with it. The size of your wall will help you decide on whether you want the shiplap laying horizontal or vertical.
After reading some design websites I had a lightbulb idea. Our living room wall already looked and felt long, so going with the traditional horizontal shiplap would have made the wall feel even longer. Going vertical is something new. It’s a little more unique and it makes the room feel the size that it is. It makes the wall appear taller and gives it a cozy feel, which is exactly how I want our home to feel coming into this new fresh Fall season!
Have you installed shiplap in your home before? I would love to hear more about it down below in the comments!
{Disclosure this post was a sponsored post as part of a collaboration program, however all opinions are my own}
Keisha Lynne, xx
