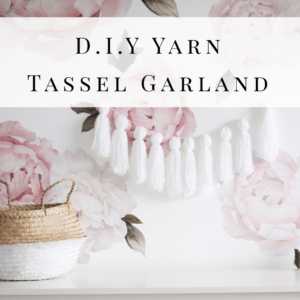
YARN TASSEL GARLAND | DIY
If your anything like me and have these grand ideas in your head to put together these pretty pieces of decor but always leave it to the last minute. Well, I’m with you!! I try my hardest, if I can, I like to normally do them on my own. Sometimes it is just easier to buy though I get that completely. Except if your in crunch time and you need it asap!
I love a good and easy DIY project. Last month my friend and I were searching for a cute Yarn Garland and well because we left it to the last minute it was to late to have anything shipped! That’s when we just say that famous line “I can make that”. You know, you say it but never actually do it!?
Well, we did it! and they both turned out really great. Not perfect but good enough haha It was fast and easy to do and cost $4. We choose all white and for halloween turned them into ghosts with eyes!
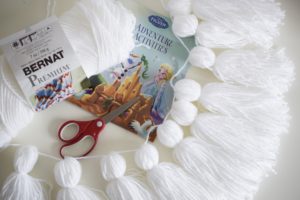
All you need is:
- Scissors
- Piece of cardboard
- Your choice of yarn
Getting the supplies were easy putting it together and following instructions with kids is never easy! I’ll write them down for you but I’ll also add the amateur YouTube video Owen and I did the other night. It’s nothing fancy so don’t get to excited!
Instructions:
- Cut two small pieces of yarn and leave them to the side.
- Grab your yarn and your cardboard and hold one side of it, start wrapping the yarn around the cardboard until you reach the thickness you prefer. I did it 40 times!
- Then grab one of your small pieces of yarn and tie it to the very top of the cardboard.
- Trim the other end of the yarn.
- Flop it on it’s other side where you don’t see that extra small piece of yarn tied.
- Grab your other small piece of yarn and wrap it around the whole top area and cut off the access pieces.
- You’ll then want to trim the ends to straighten them out or leave it as is!
- Then you’ll take your long piece of yarn and hook it through the tops of each one until they’re all strung up!

