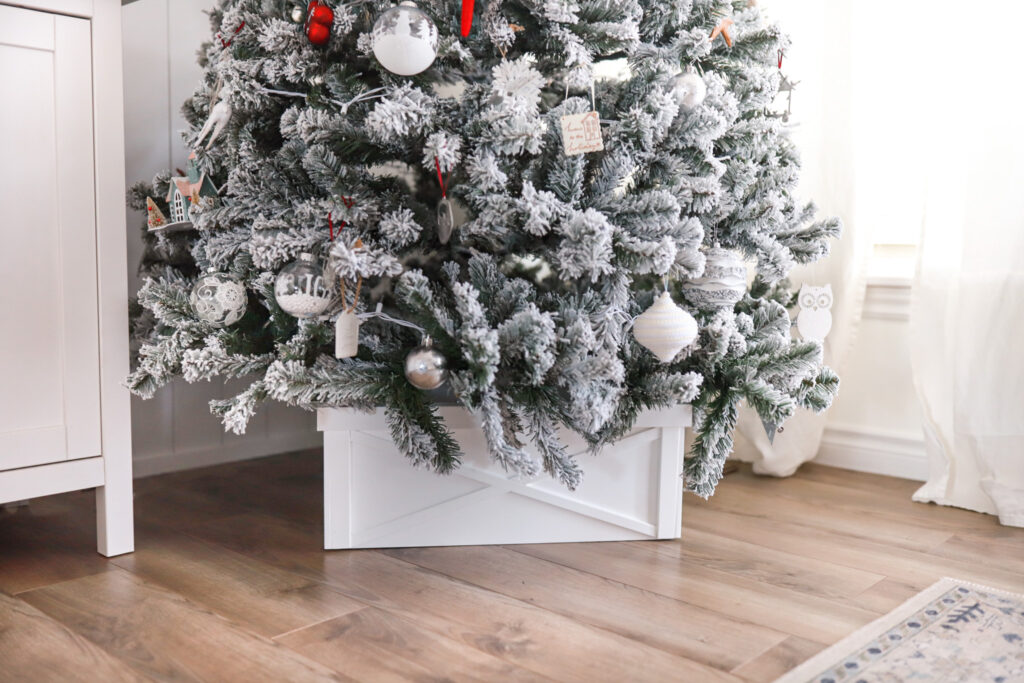
Dressing up the bottom of the Christmas tree is a tradition most families have at their home when decorating the family Christmas tree. Normally we have a fabric tree skirt that runs below, but year after year we are always struggling with it. By struggle I mean the dogs want to rip it out from under the tree and either sleep on it or tear it apart. Which becomes quite the thing in our home.
We wanted to create a Holiday collaboration project with Home Hardware this year. We thought to ourselves, wouldn’t this be a great idea to help solve that case but also give the bottom of the tree style and still hide that metal tree stand that’s always sticking out haunting us!
To say that this one was an easy project would make you laugh because it was really easy to whip together and quite honestly the supplies are minimal and budget friendly. Which is always a bonus for us.
We found everything we needed for this handy little project at our local Home Hardware store. Super easy and efficient to find. We grabbed a few L hinges, 2 locks, white paint we had left over, polyfill for the cracks, nails and of course the wood.
WHAT YOU NEED:
● Nails
● 2 Locks
● Polyfill
● Sandpaper
● 8 Small L hinges
● BeautiTone Paint
● Pine Wood Cut 11” x 11”
● Detail Wood Strips cut at 1”x1” (3 placed at the top, 2 on the sides, 3 in the middle marking the pattern X)
HOW TO:
First Step: So, you’ll want to figure out how big your box needs to be to house your tree stand. Ours was cut and sized at 11”x11”.
Second Step: Cut your pine pieces out to size. Nail all four sides together and sand it down.
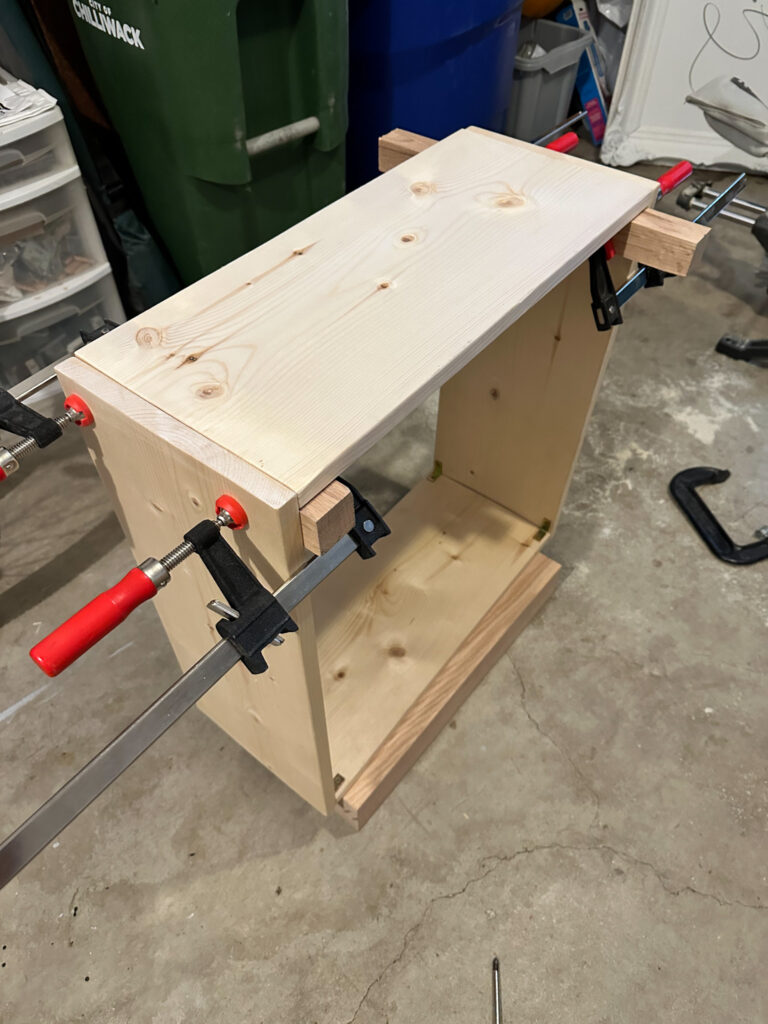
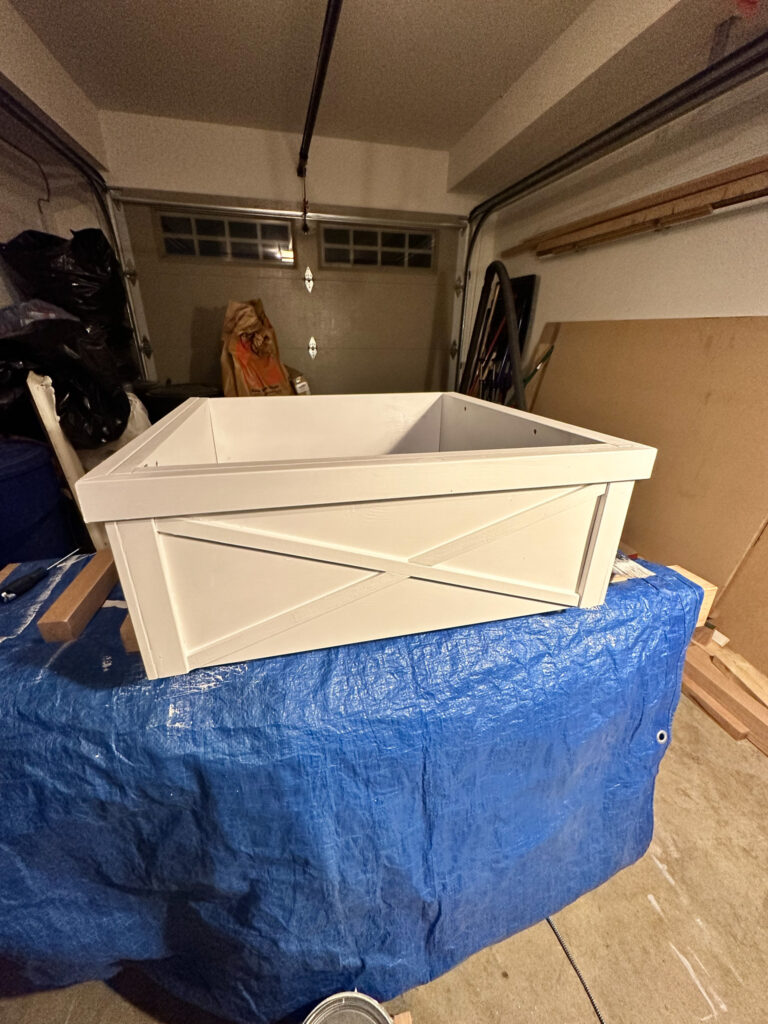
Third Step: We added some small cut out details on the front of the box for more design. But this is where you can really get creative with setting up your own style.
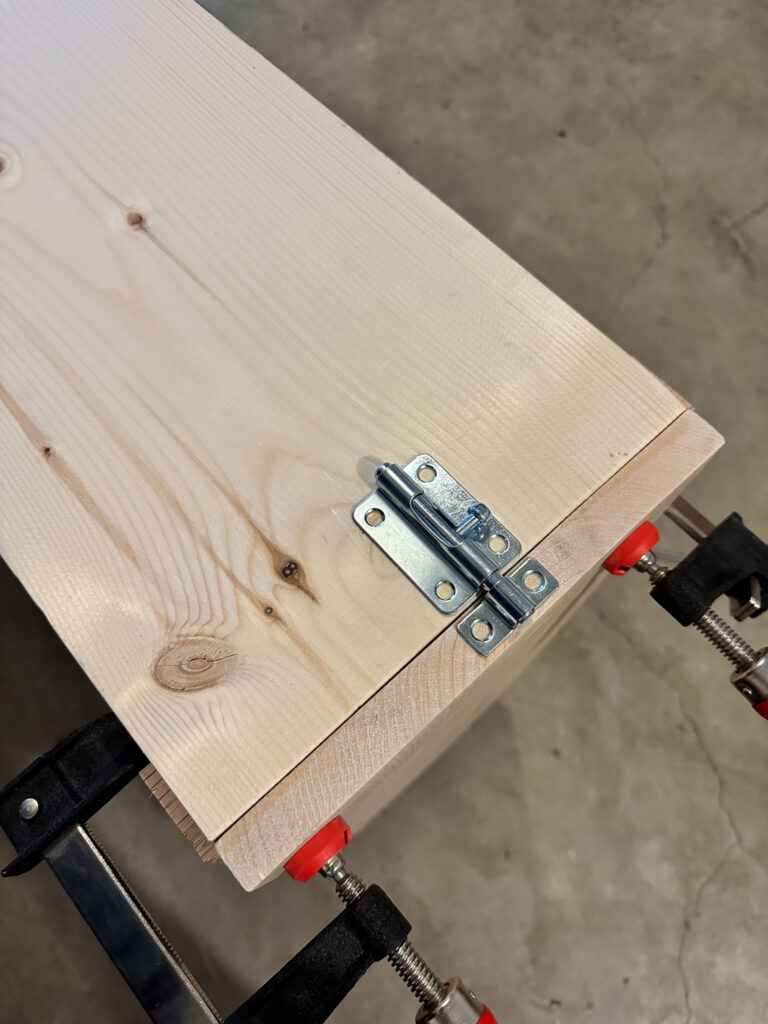
Fourth Step: We left one side open to fit securely under the tree and placed locks on both sides so we could lock it in place.

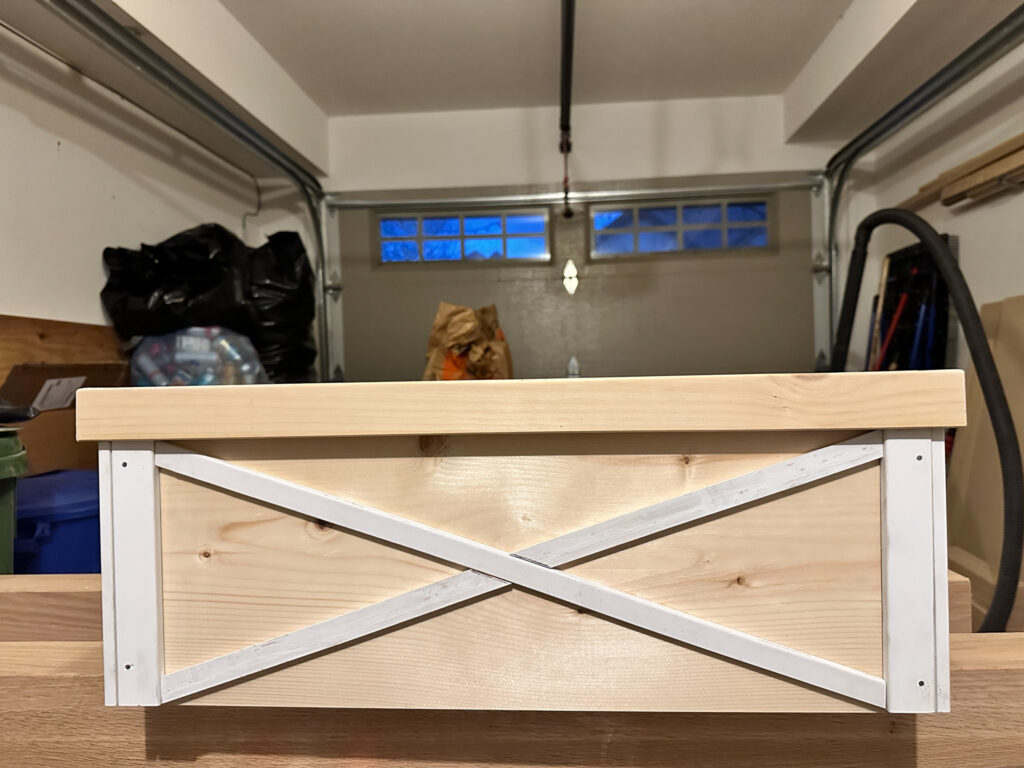
Fifth Step: Fill in all the holes around your box using PolyFill. After waiting for it to dry completely we painted it!
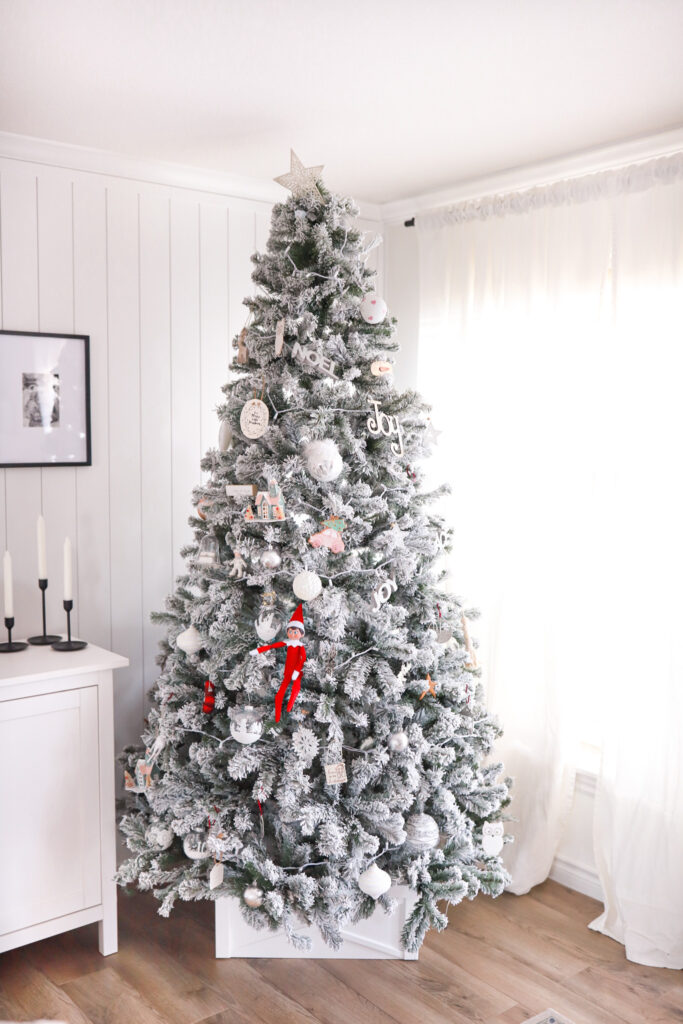
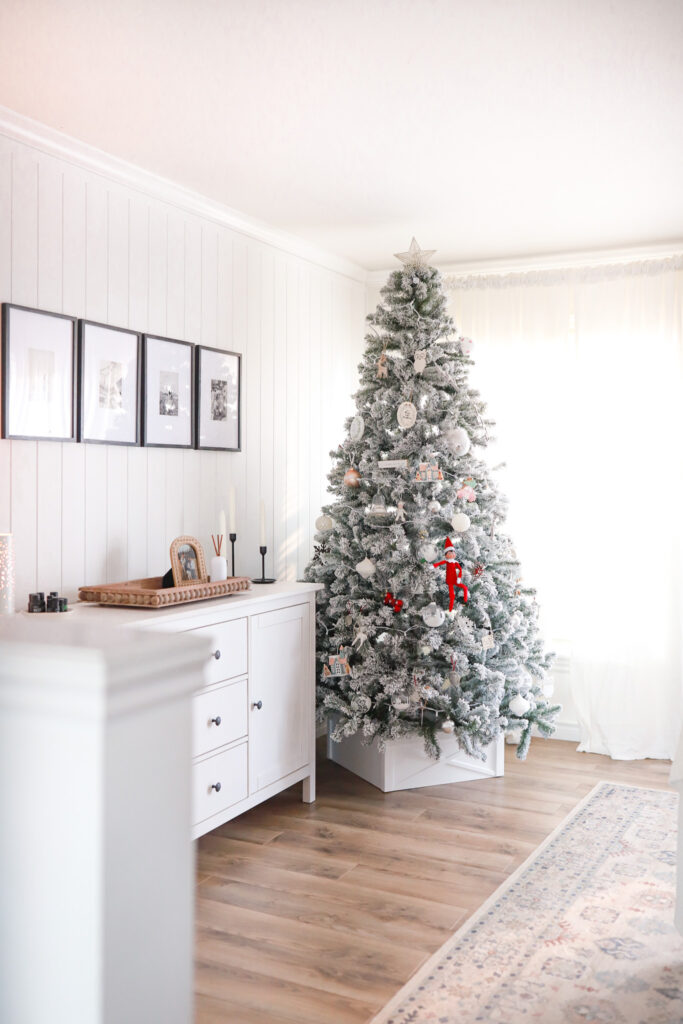
I loved how it came together and looks perfect under the tree! As time goes on, I think we might add some sentimental things like the kids hand prints or our last names, years etc. This piece will be in the family for many years to come!

Keisha Lynne, xx
(Disclosure: This blog post is part of a sponsored collaboration and all thoughts and reviews are that of my own!)
